GENERALLY
Once we receive your order, we will prepare your products for shipping as quickly as possible. This takes an average of 1-2 days. Once your package has been handed over to the shipping service provider, the delivery time in Austria is between 1 and 3 days, and to Germany it takes between 3 and 5 days. To other EU member states it can take 3 to 7 days.
Please note that in the current situation at home and abroad there may be delays in delivery times! Unfortunately we have no influence on this delivery time.
We deliver worldwide. If your country is not set up as a recipient country in the shop, please send us a message to shop@gustagarden.com .
For orders with a minimum value of €75, shipping is free within Austria and Germany. For orders with a minimum value of €100, shipping is free to the rest of the EU countries. For orders below €75 (AT and DE) or €100 (rest of EU), we charge €6.90 for shipping within Austria and Germany, and €10 for shipping within the rest of the EU.
You can pay for example via PayPal, different credit cards, PayPal, Apple Pay etc. All available payment methods can be seen during checkout or at the very bottom of this page.
Our products are lovingly designed in the Alps-Adriatic region and manufactured with the highest quality.
Our products are made from high-quality polypropylene, a food-safe and 100% recyclable plastic. Since the 2021/22 financial year, we have already used 75% recycled plastic for polypropylene, which is made from common household waste. PAUL POTATO is also available in robust steel.
You can find more information about this under "Sustainability".
Sustainability and environmental protection are also very important to us.
For this reason, we have worked intensively on this in recent years and have now managed to ensure that a total of 75% of the raw materials we process are recycled materials , i.e. post-consumer waste. You can find out more about this topic on our “Sustainability” page.
PAUL POTATO
Potatoes can be grown in PAUL POTATO within minutes. The individual floors are simply filled halfway with soil. A tuber is then placed in each of the three corners. Then add a layer of earth – that’s it. You can find more details about planting in PAUL POTATO here .
PAUL POTATO Starter requires an area of 44x44cm and has a height of approx. 50cm to approx. 65cm, depending on how many tiers you choose. You can find more information about the dimensions on the respective product page in the shop .
Of course directly with us! Take a look at our shop: we have selected many different varieties for you. Here you can get an overview and choose your perfect potato varieties straight away!
This refers to the ripening period of the individual potato varieties, which can be 90 (for early varieties) to 160 days (for late varieties). For more information, just read our detailed blog article about “Potato Varieties” .
Potatoes are nightshade plants, so they require similar soil to tomatoes. It should be light because then the tubers can grow more easily. We have developed a very special potato soil for you, which has also been mixed with the most important nutrients so that your potatoes can grow productively. This is available in a set, together with seed potatoes and organic sheep's wool fertilizer - everything you need for planting.
You can start planting as early as mid-March if you protect your plants from frost. However, we would definitely recommend a antifreeze cover. You can find more information about planting time here.
Of course you can also grow other plants in PAUL POTATO. To make optimal use of the space, you can, for example, plant potatoes on the lower floors, but use the top floor as a mini raised bed. Lettuce, radishes, herbs etc. feel completely at home there! Be creative!
For inspiration click here.
Of course, you can also replant your PAUL POTATO with autumn vegetables after the potato season. Please read our blog post “Planting autumn vegetables” .
SISSI STRAWBERRY
Inserting strawberries into SISSI STRAWBERRY is child's play. Basically, you fill each level with soil and insert the young strawberry plants into the side openings. For more detailed information please click here .
SISSI STRAWBERRY's tray is the widest part of our strawberry tree with a diameter of approx. 32cm. Depending on the version, SISSI STRAWBERRY has a height between 77cm and 184cm. You can find out more about the sizes on the respective product page in the shop .
Any variety is suitable for planting in SISSI STRAWBERRY. Within Austria and Germany, we deliver strawberry plants directly from a local nursery to your home. Take a look here in the shop .
For your strawberries you can either use berry soil or simply use universal soil.
If you want to grow strawberries from seeds, you should start in March. This works best with our mini greenhouse including SISSI STRAWBERRY seed mix. You can find step-by-step instructions here: Mini greenhouse instructions. The best time to plant strawberries is mid-April to mid-June. Strawberries are hardy, so you don't have to plant new ones every year. You can read about the best way to overwinter your strawberry plants here.
Strawberries are hardy, you can easily overwinter them in SISSI STRAWBERRY. How it works? You can read this in the blog post “Overwintering SISSI STRAWBERRY” .
Many plants grow beautifully in SISSI STRAWBERRY, from different herbs to lettuce. You can really get creative here! You can find a few ideas in the blog post “Alternative planting options” .
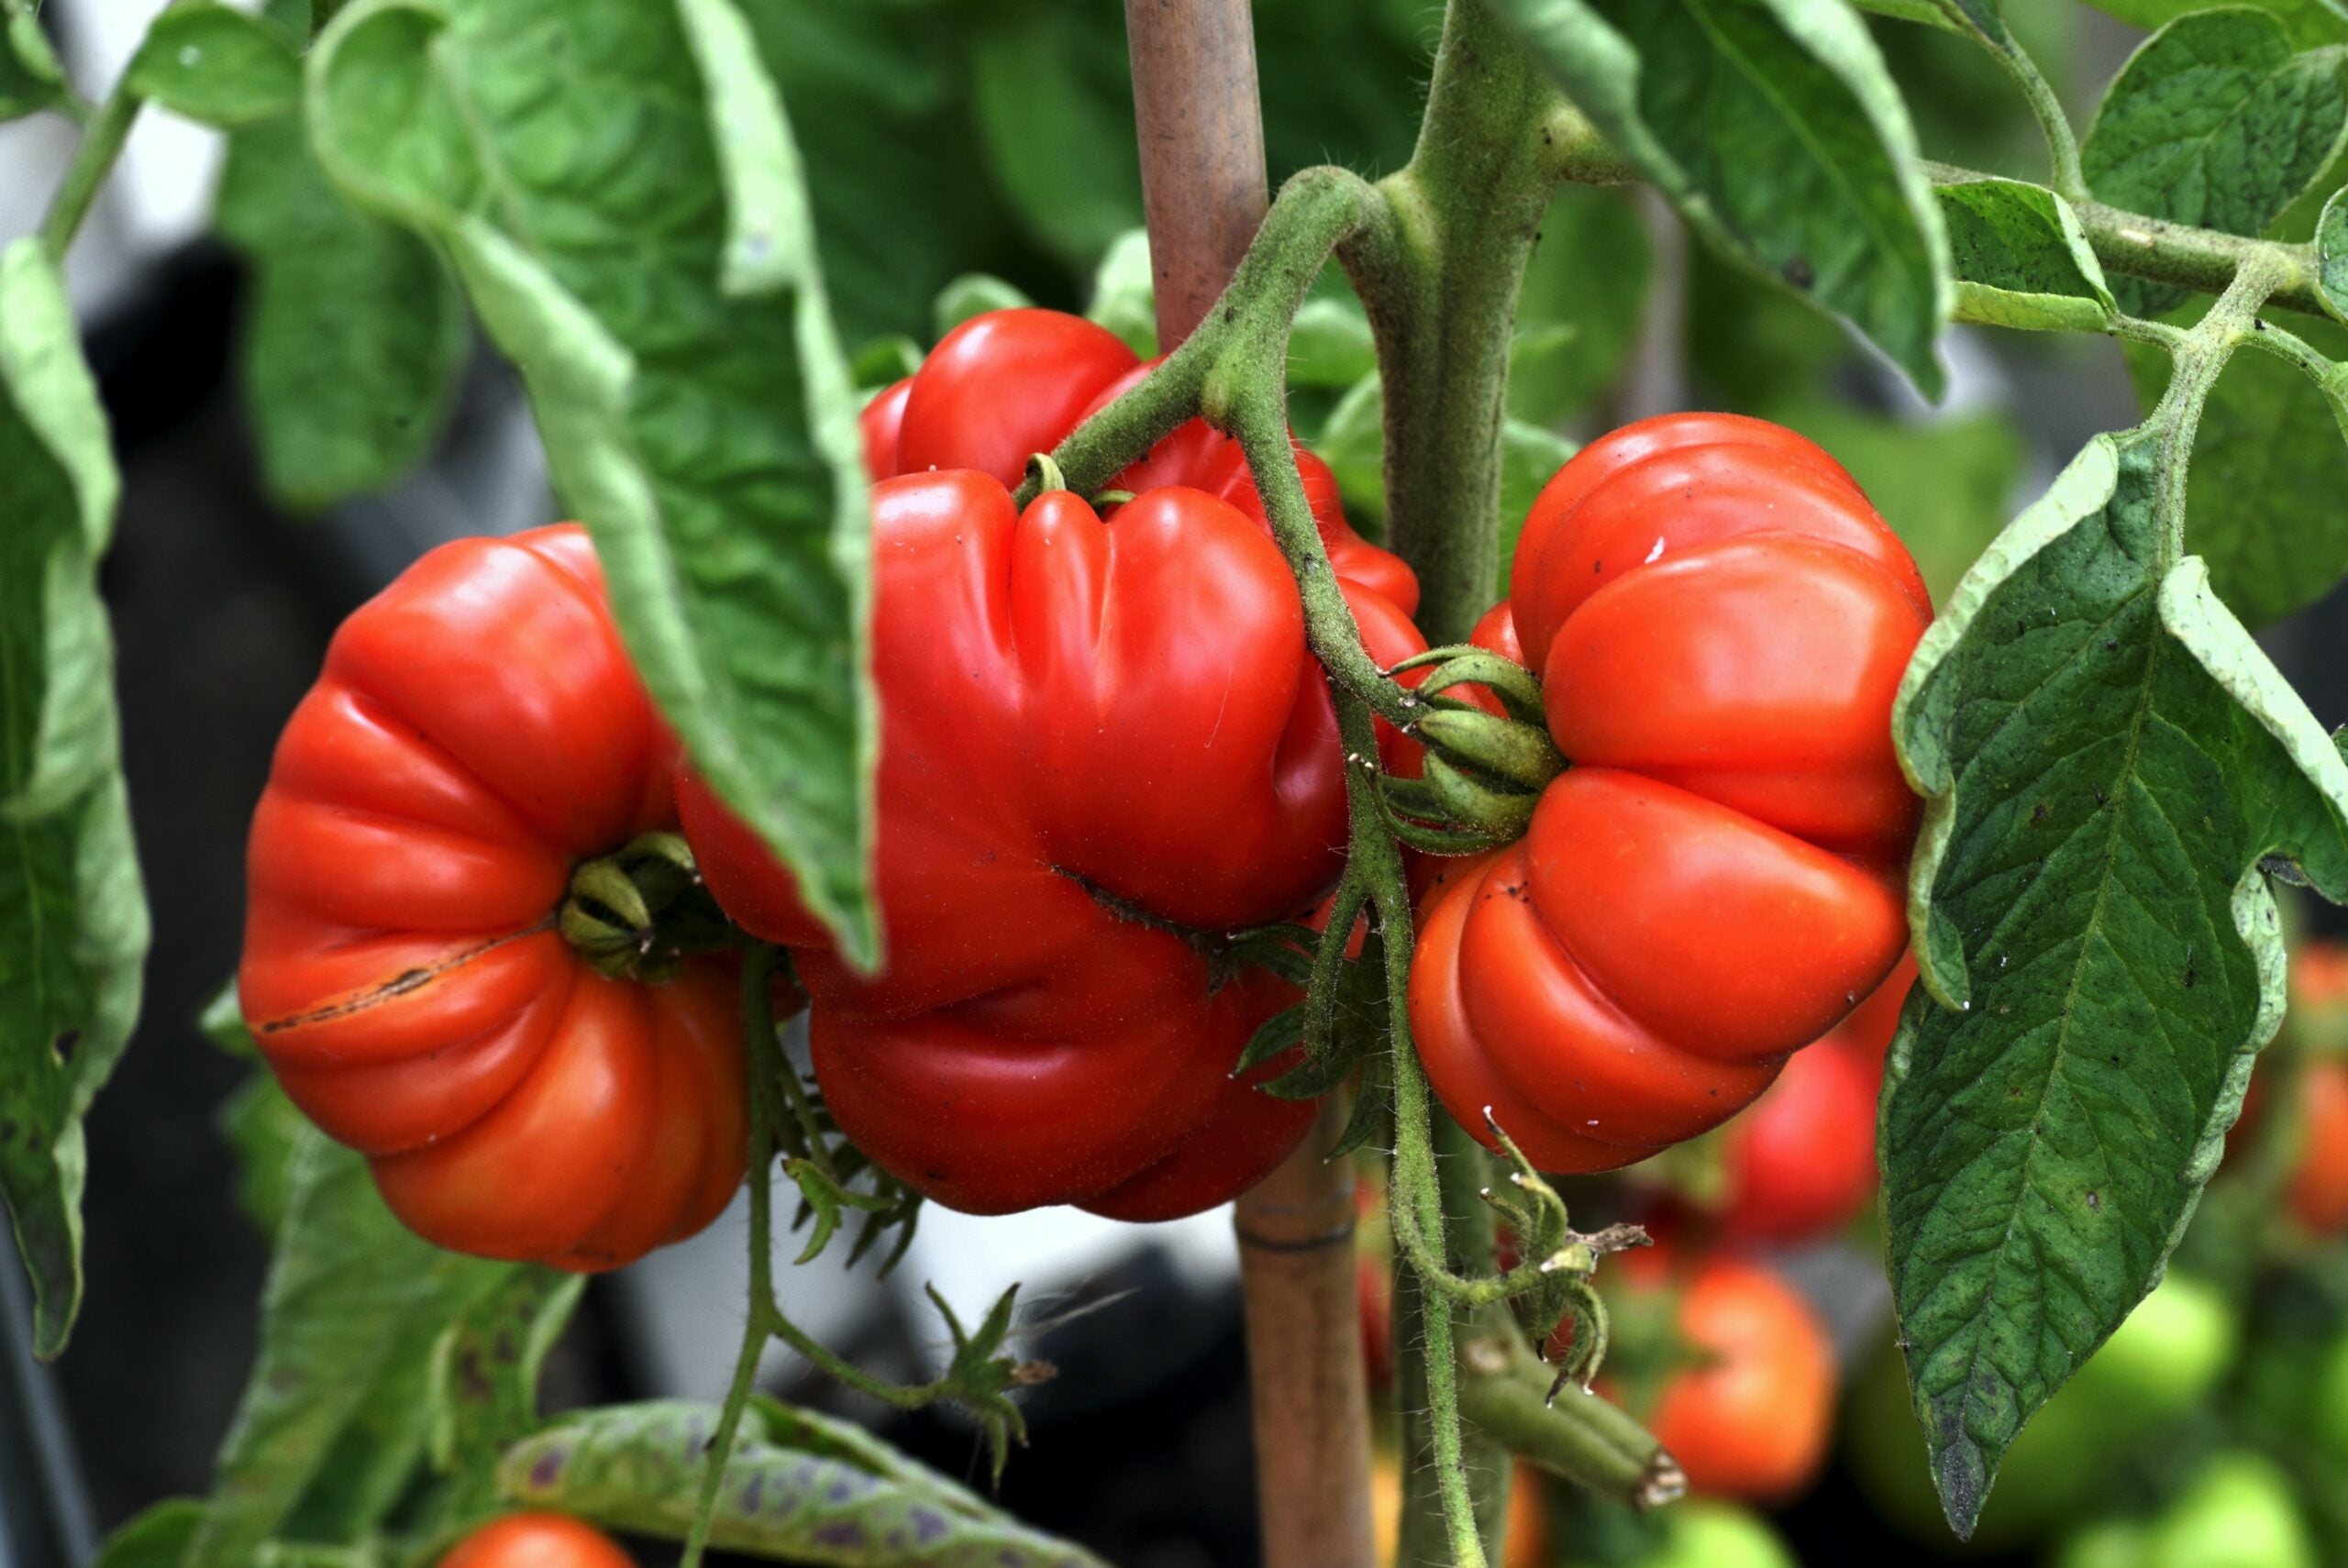
TOM TOMATO
TOM TOMATO is set up in just a few steps and ready for planting. All you have to do is fill in soil and plant a tomato plant.
You can find all the details in the TOM TOMATO instructions.
When assembled, TOM TOMATO (including climbing support) measures 35 x 28 cm with a height of 135 cm.
Tomatoes need a lot of light and love warmth. This means that the most optimal conditions for a rich tomato harvest are: sunny, warm and protected from rain . A place in front of a house wall from which the heat is radiated back is particularly suitable for this.
For a productive harvest, we recommend tomato soil. You can find pre-mixed tomato soil in stores, which is ideal for growing tomatoes. Alternatively, you can of course also use vegetable soil.
If you want to grow tomatoes from seeds, you should start in March. This works best with our mini greenhouse including TOM TOMATO seed mix . You can find step-by-step instructions here: Mini greenhouse instructions . But if you want to plant young tomato plants, then you should wait for the ice saints to grow in mid-May. In any case, the plants should no longer be exposed to frost.
First of all: Make sure you never water the leaves of a tomato plant! Tomatoes are very sensitive to water because wet leaves can quickly lead to rot and other diseases.
After planting, you should only water the soil around your plant from above for a while, but also fill the storage tank with 4.5L of water. Once the roots reach into the water tank, all you have to do is fill the tank regularly. The irrigation bands ensure that the soil in the lower area of the plant pot is moistened to ensure optimal absorption of nutrients via the roots.
TOMATO BUDDY
TOM TOMATO is the all-round, worry-free package for planting tomatoes. You will receive a planting system consisting of a tomato pot, water tank and climbing aid.
TOMATO BUDDY is the tomato climbing aid we developed, which you can use in combination with any commercially available planter.
Setting up and planting is quick and easy. The individual elements just have to be put together (you can find the TOMATO BUDDY instructions here) and placed in an empty plant pot. Fill in soil and plant your tomato seedling. Over time you can hang the shoots in the integrated hooks.
When put together, TOMATO BUDDY measures 18 x 18 cm with a height of 128 cm.
Of course, you can also use our TOMATO BUDDY to stabilize other plants. Whether cucumbers or beans, your climbing vegetables will love TOMATO BUDDY. And you certainly do too.
CHARLY CHILI
CHARLY CHILI can be set up in just a few steps and is ready for planting. Then all you have to do is fill in soil and insert two chili plants.
You can find all the details in the CHARLY CHILI instructions .
When assembled, CHARLY CHILI (including the climbing system) has dimensions of 35 x 28 cm and a height of 75 cm.
Chili and pepper plants love warmth. This means your CHARLY CHILI feels most comfortable in a sunny, airy place, ideally right in front of a house wall.
To ensure that you get a rich harvest with CHARLY CHILI, we recommend chili/paprika soil. You can find pre-mixed soil in stores, which is ideal for growing chilies, peppers and peppers. Alternatively, you can of course also use vegetable soil.
If you want to grow chilies from seeds, you should start in March with our mini greenhouse including CHARLY CHILI seed mix . In our mini greenhouse instructions we explain exactly how it works. But if you want to plant young chili plants, then you should wait for the ice saints to grow in mid-May. Under no circumstances should the plants be exposed to frost.
After planting, water your chili plants from above for a while and also fill the tank with 4.5 liters of water. Once the roots reach into the water tank, all you have to do is refill the tank regularly.
HARRY HERBS
In HARRY HERBS you have a total of 4 different cultivation options. Here you will find the respective assembly and cultivation instructions:
1. Cultivation (indoor greenhouse)
2. Plant pot
3. Hydroponics (without soil)
4. Microgreens
You also have 4 different options for placing your HARRY HERBS indoors or outdoors. You can find the assembly instructions for the respective options here:
1. Float on the wall individually or stylishly as a group with the wall bracket
2. Hang practically on any railing using the balcony bracket
3. Decorate your home in a pack of 3 on the modern vertical garden made of larch wood
4. Simply place it on the living room table, in the kitchen, on the dresser or on the windowsill
HARRY HERBS has the following dimensions with and without the cultivation hood:
without hood: L: 35 cm, W: 15 cm, H: 16 cm
with hood: L: 35 cm, W: 15 cm, H: 25,5 cm
Depending on the cultivation option, you will find the optimal location here:
1. Cultivation (indoor greenhouse)
2. Plant pot
3. Hydroponics (without soil)
4. Microgreens
Depending on the cultivation option, there is also a different basis for cultivation. To make growing in HARRY HERBS as easy as possible for you, we tested many products in advance. The test winners made it into our product range for HARRY HERBS accessories:
1. Cultivation: Coconut tablets
2. Plant pot: Coconut soil, 100% peat-free
3. Hydroponics: Hydroponic set
4. Microgreens: Microgreens set including seeds
For example, you can plant HARRY HERBS in your kitchen all year long with fresh herbs, lettuce and microgreens.
If you prefer to place your HARRY HERBS outdoors (e.g. on the balcony or windowsill), pay attention to the appropriate temperatures for the vegetables you have planted. As soon as the temperatures rise in spring, lots of herbs and types of lettuce feel right at home outside. In the fall, before it gets frosty, you should move your HARRY back indoors.
Depending on the cultivation option, HARRY HERBS also has a water reservoir of different sizes. You can find all the details and tips on watering in the respective instructions.