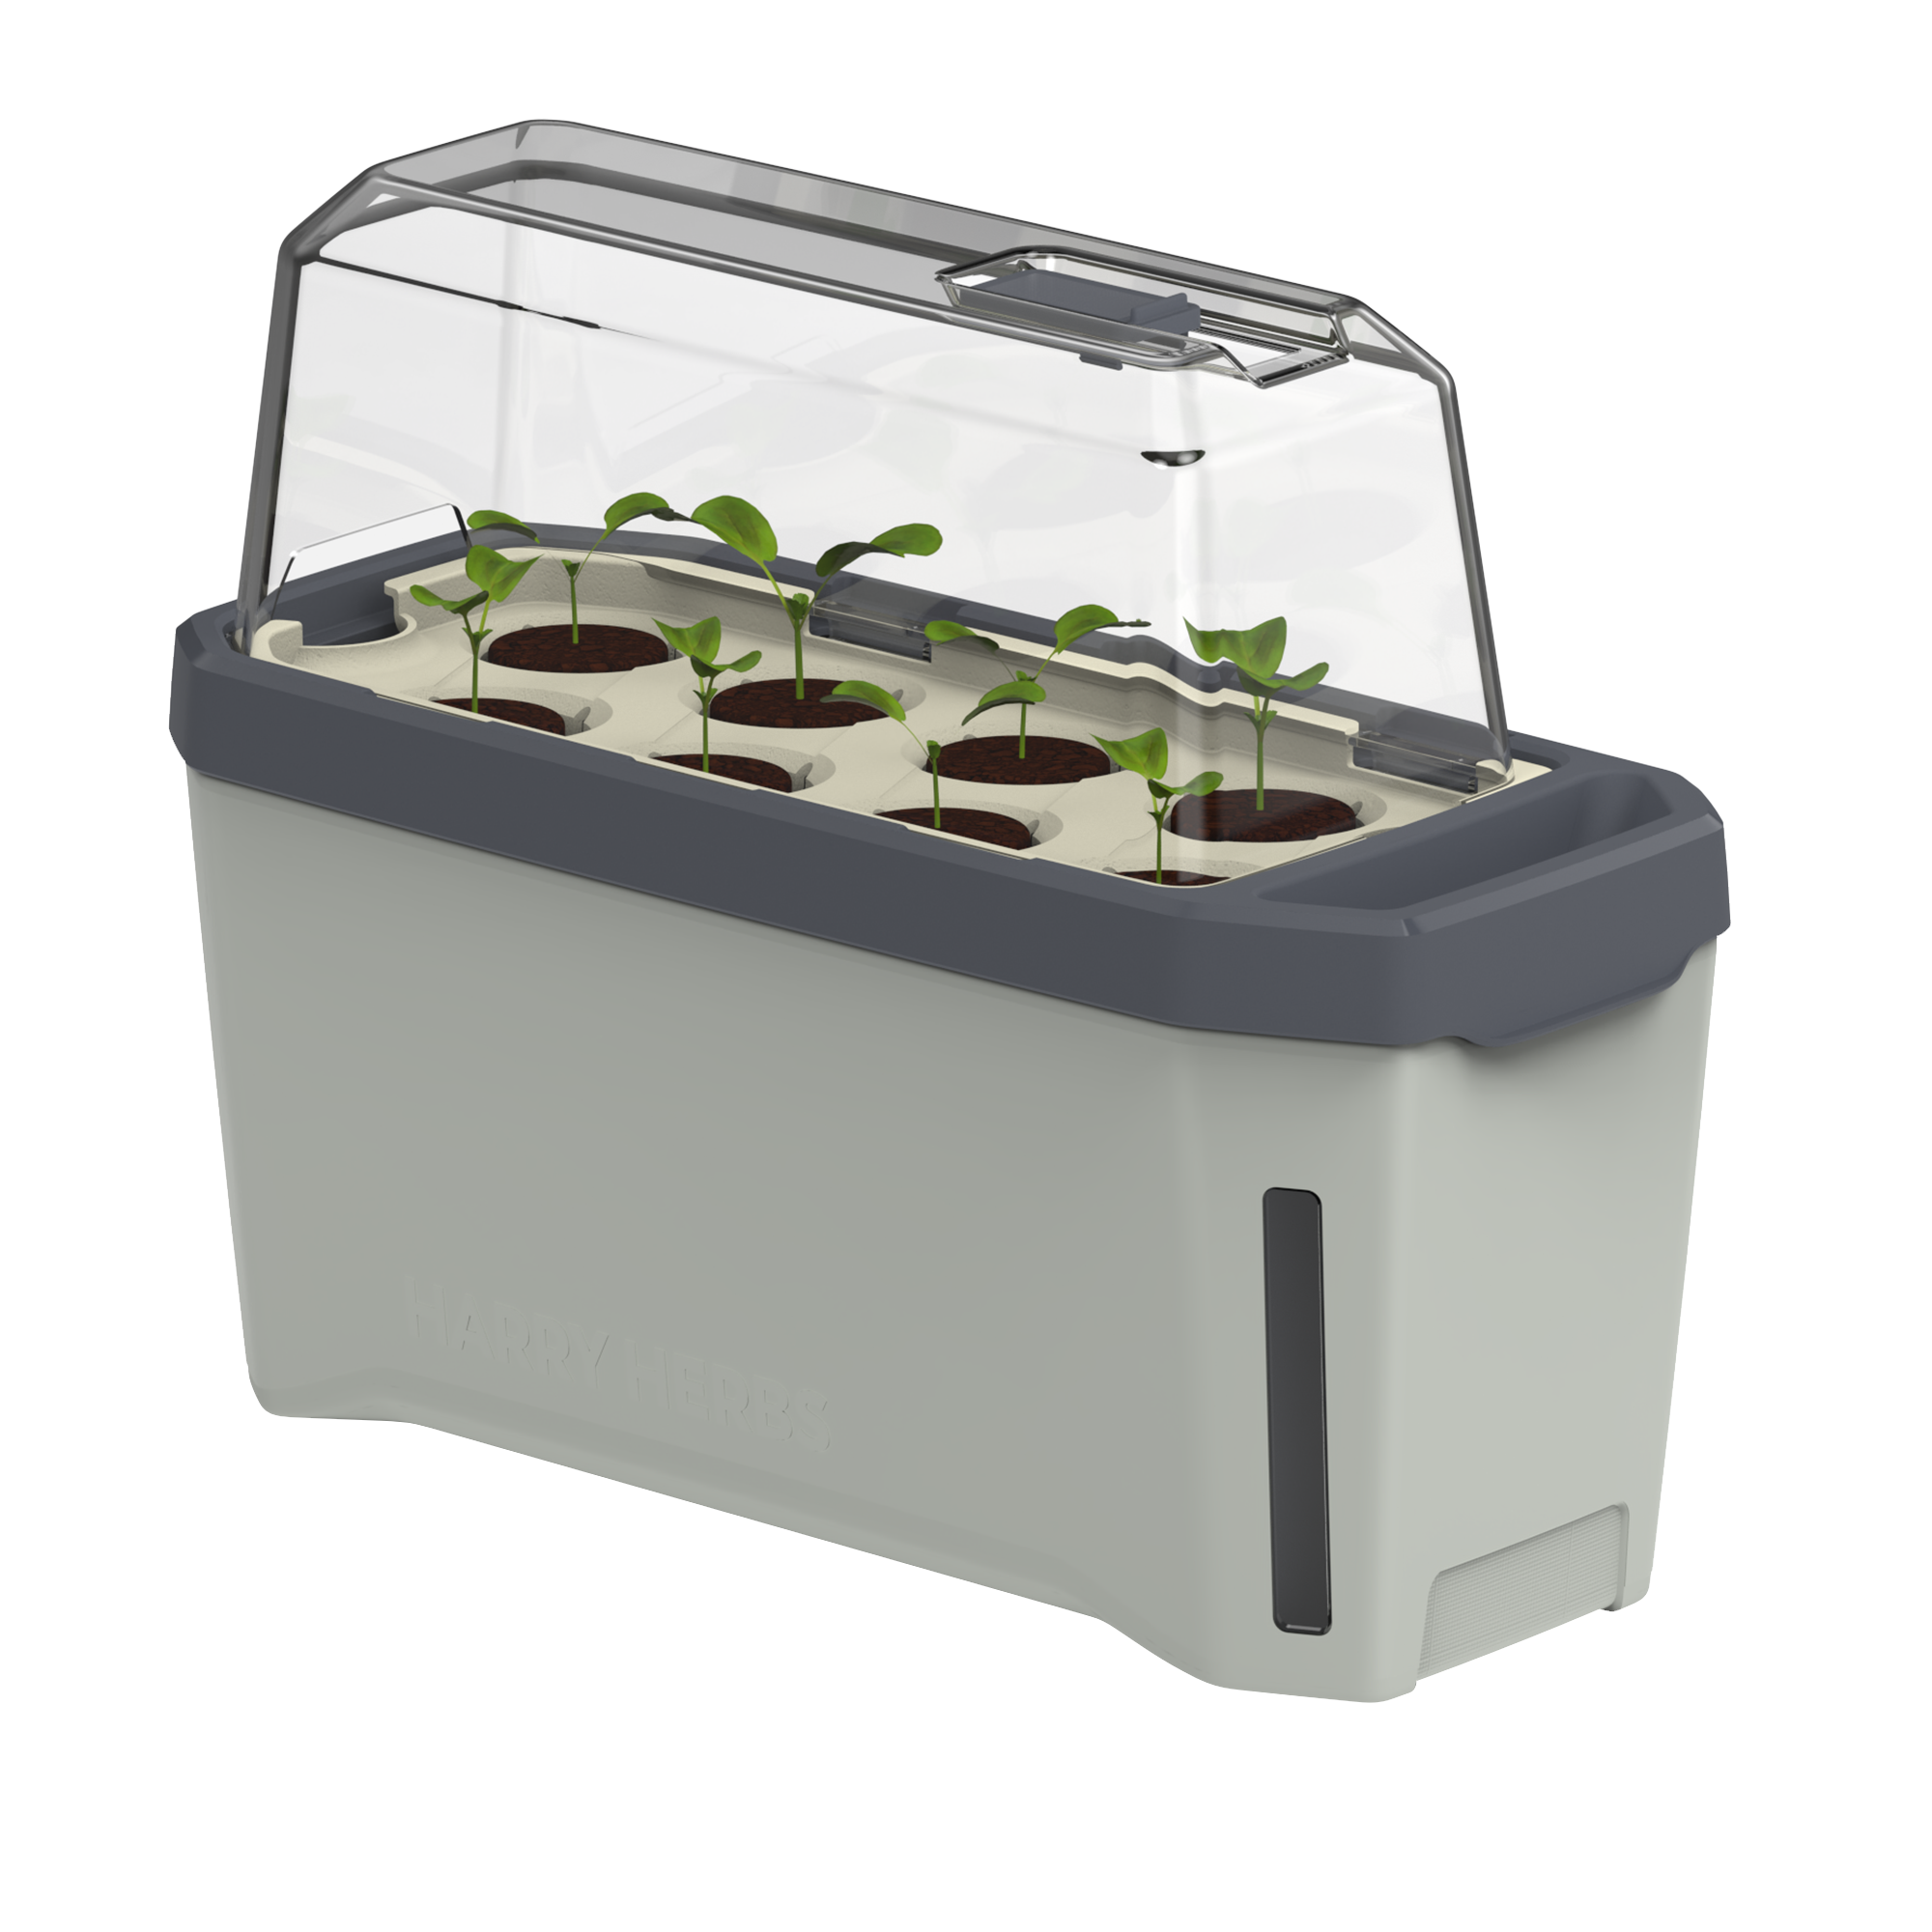

HARRY HERBS PROPAGATOR HOW-TO
Overview
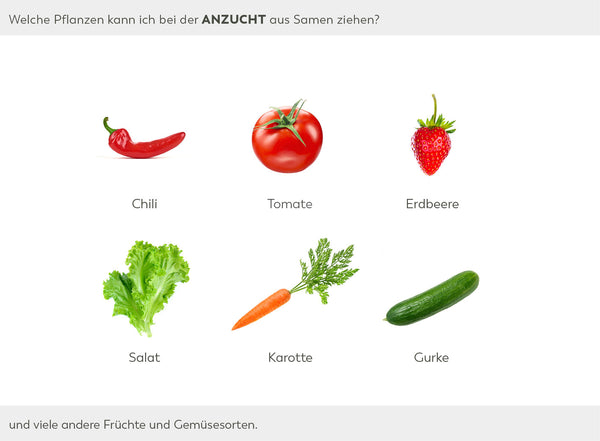
Ingredients
Step 1

Step 2

Step 3

Step 4

Step 5

Step 6

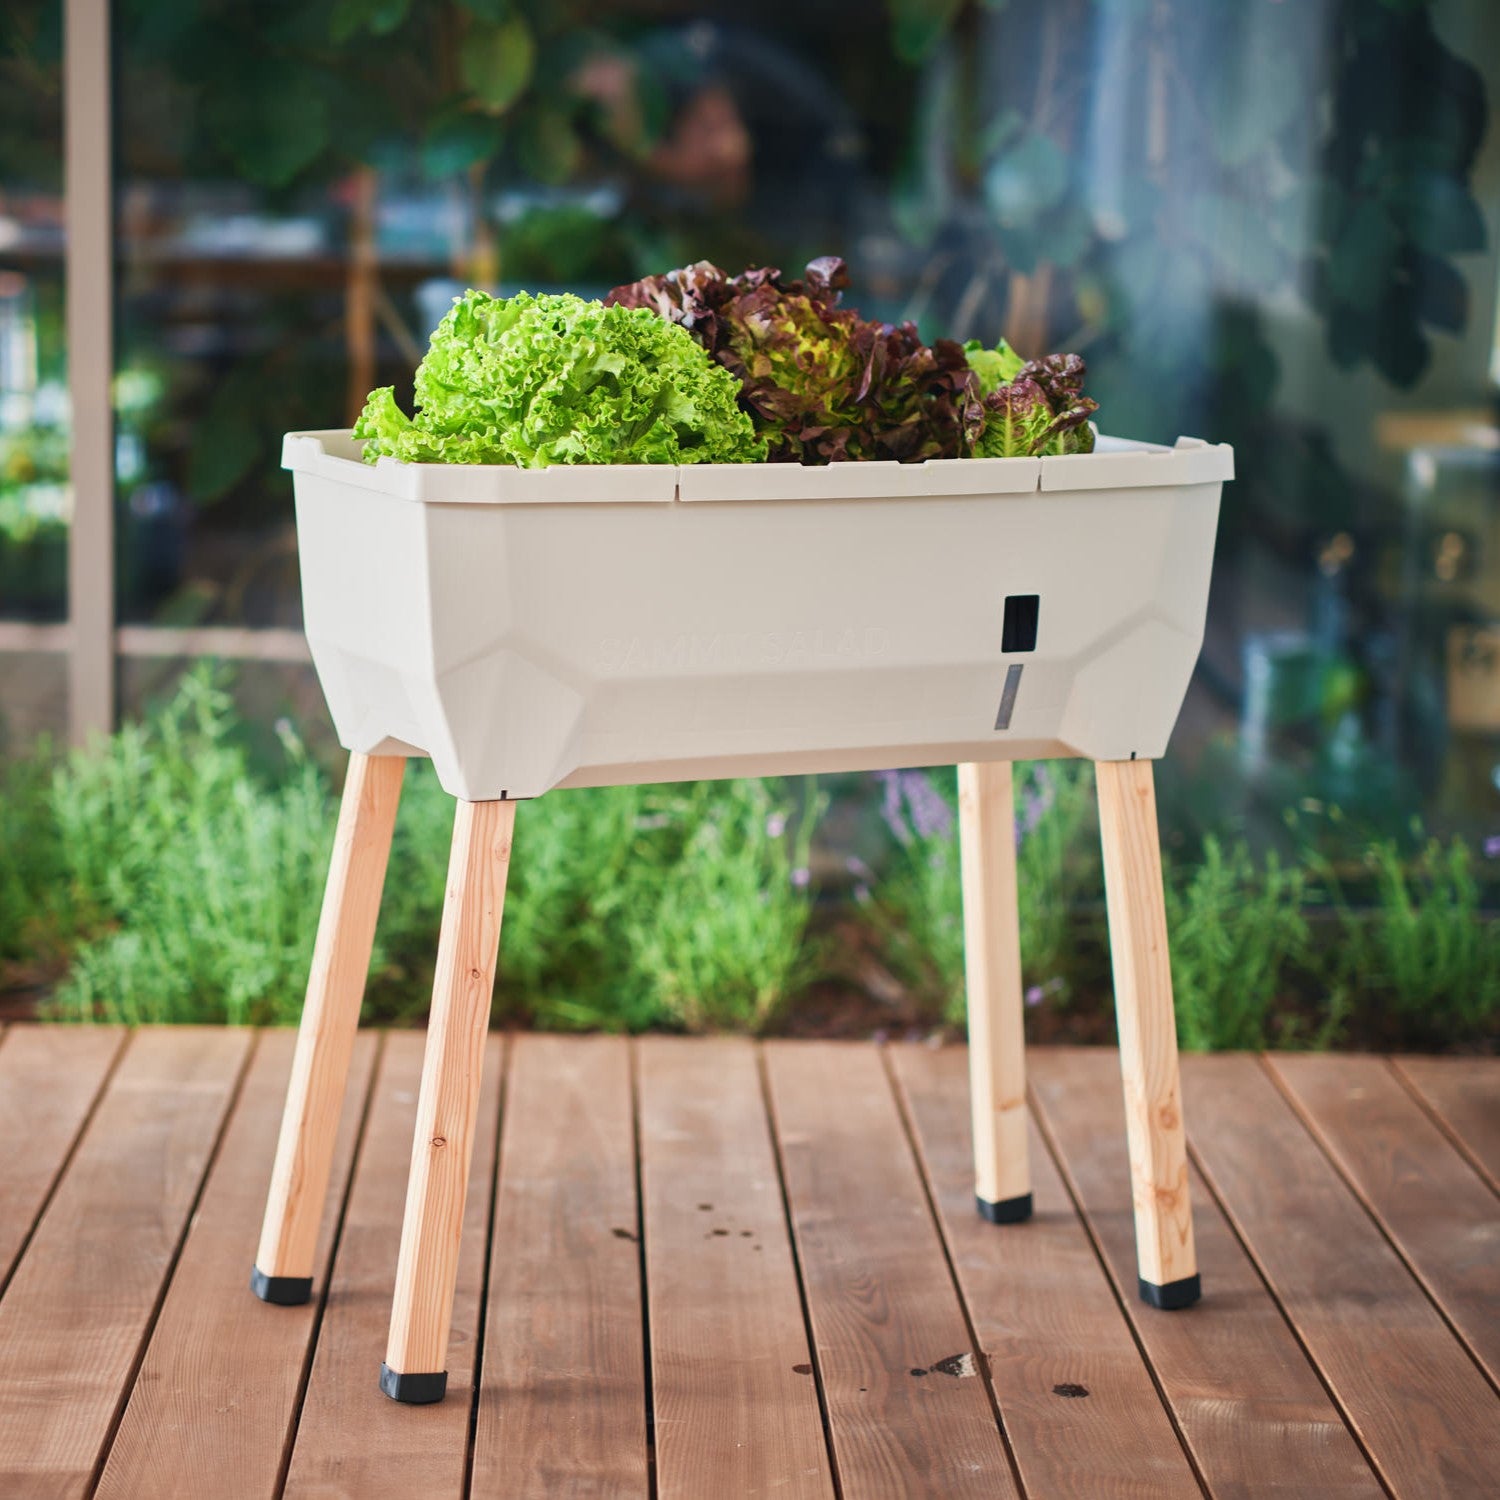
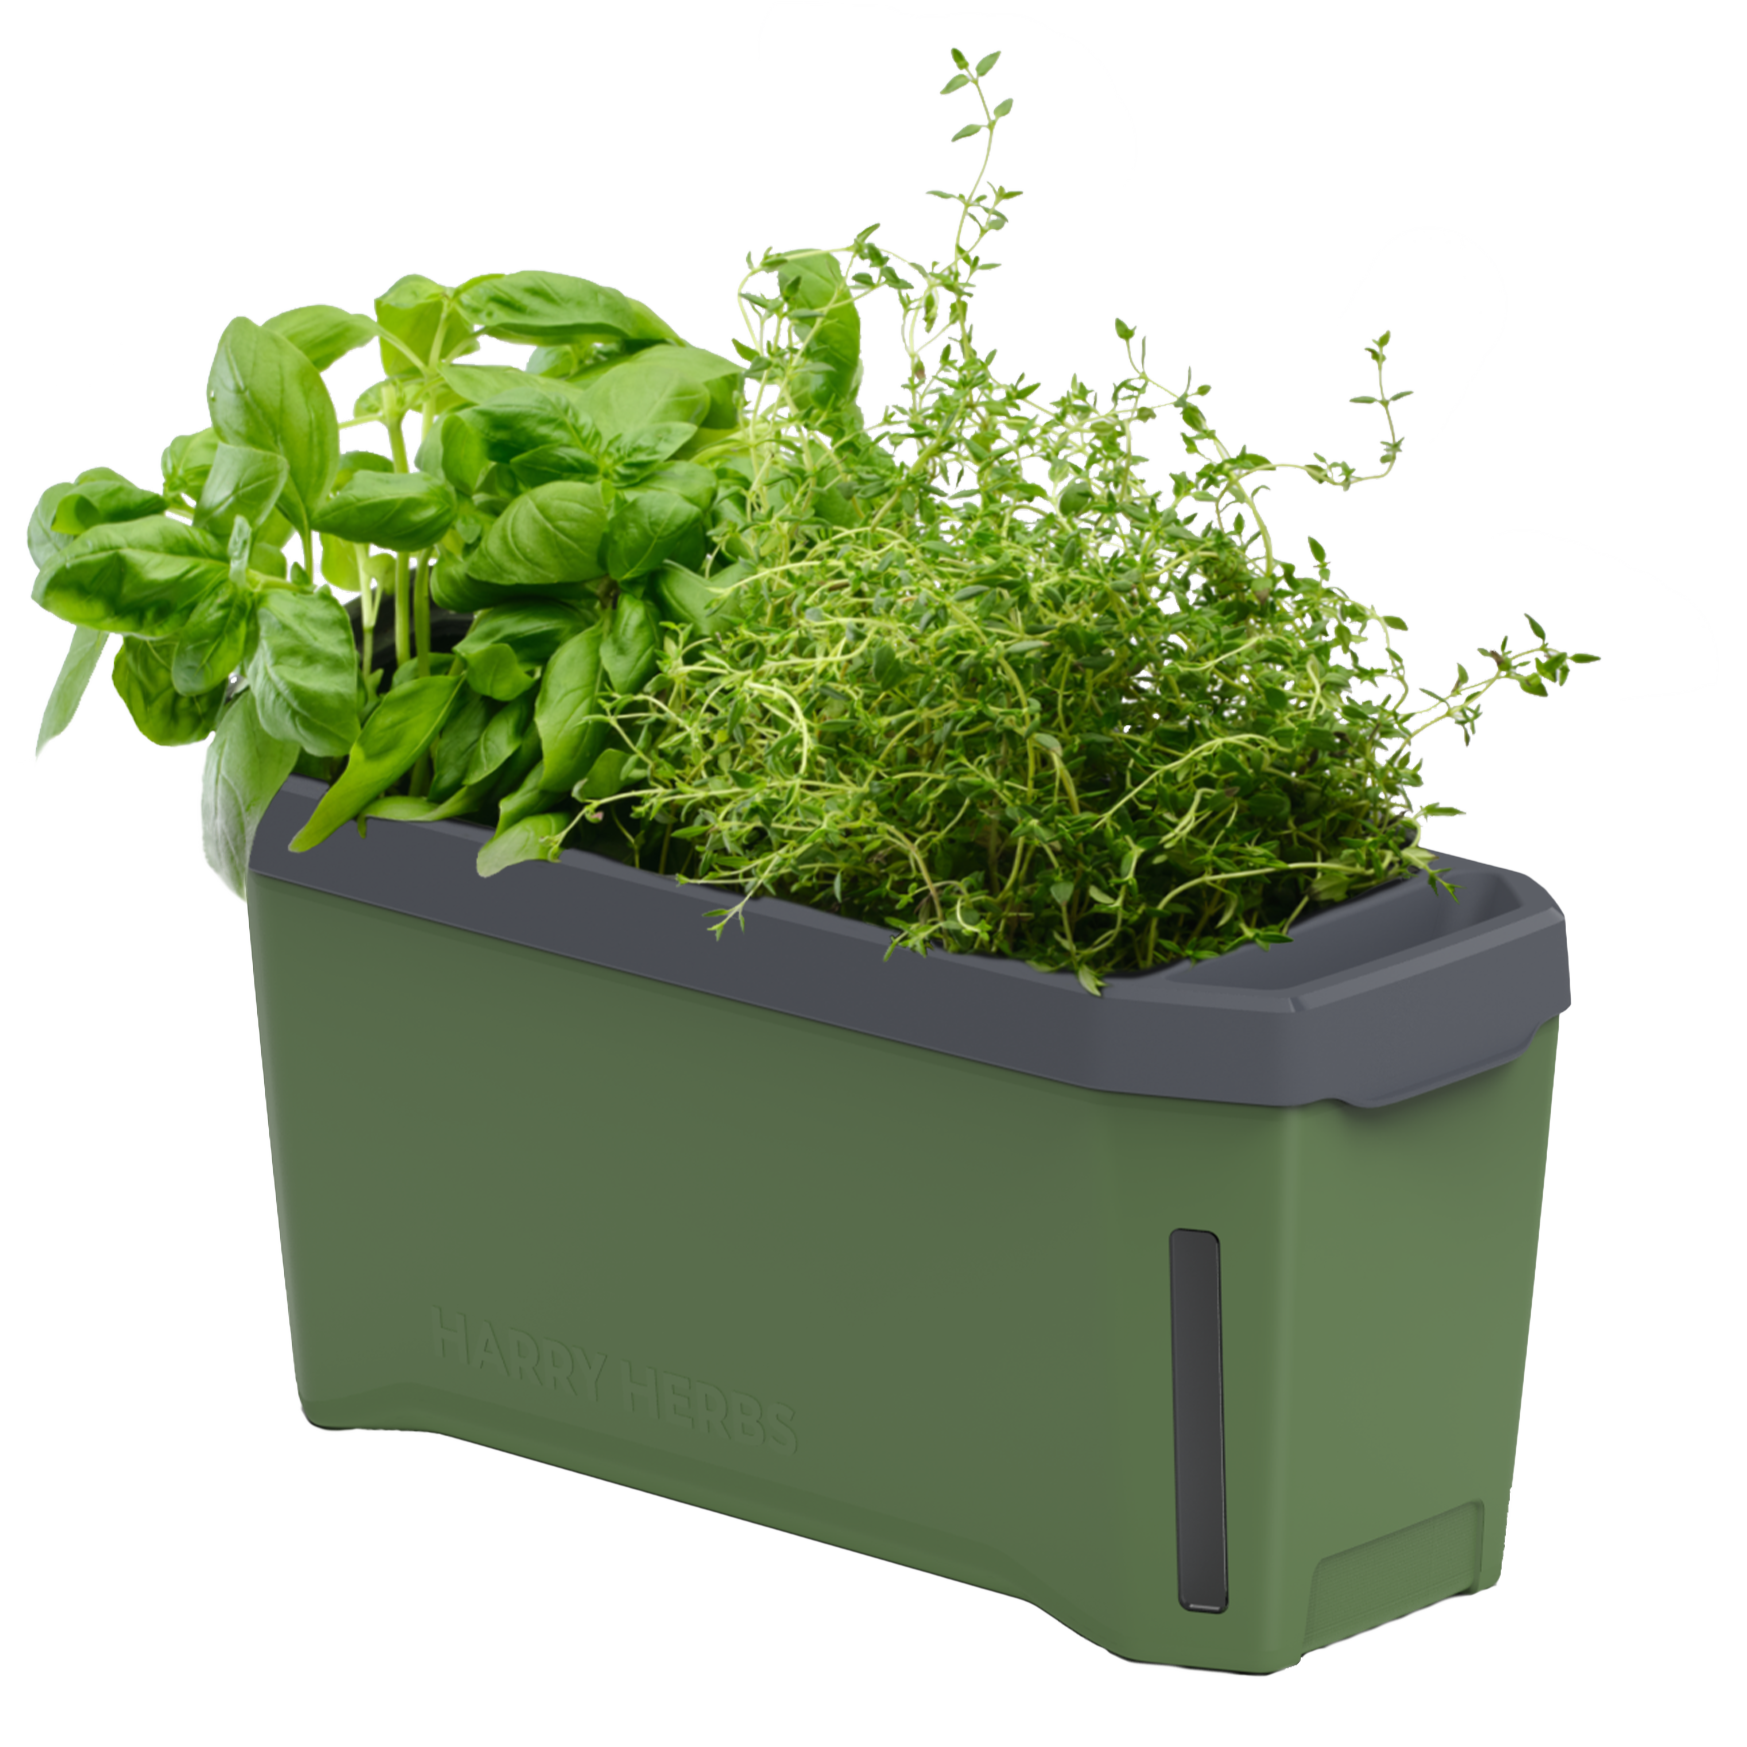
HARRY HERBS planter with soil
Overview
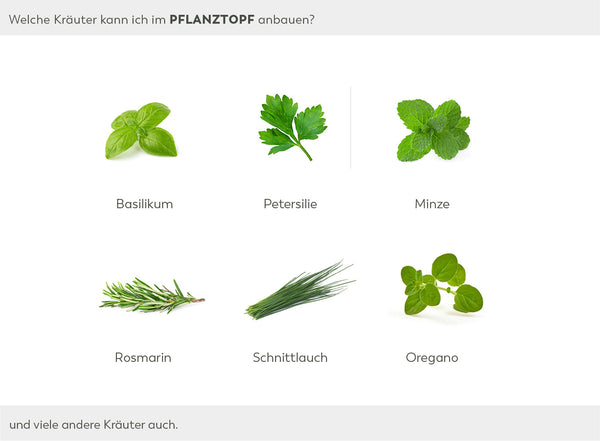
Ingredients
Step 1

Step 2
Step 3

Step 4

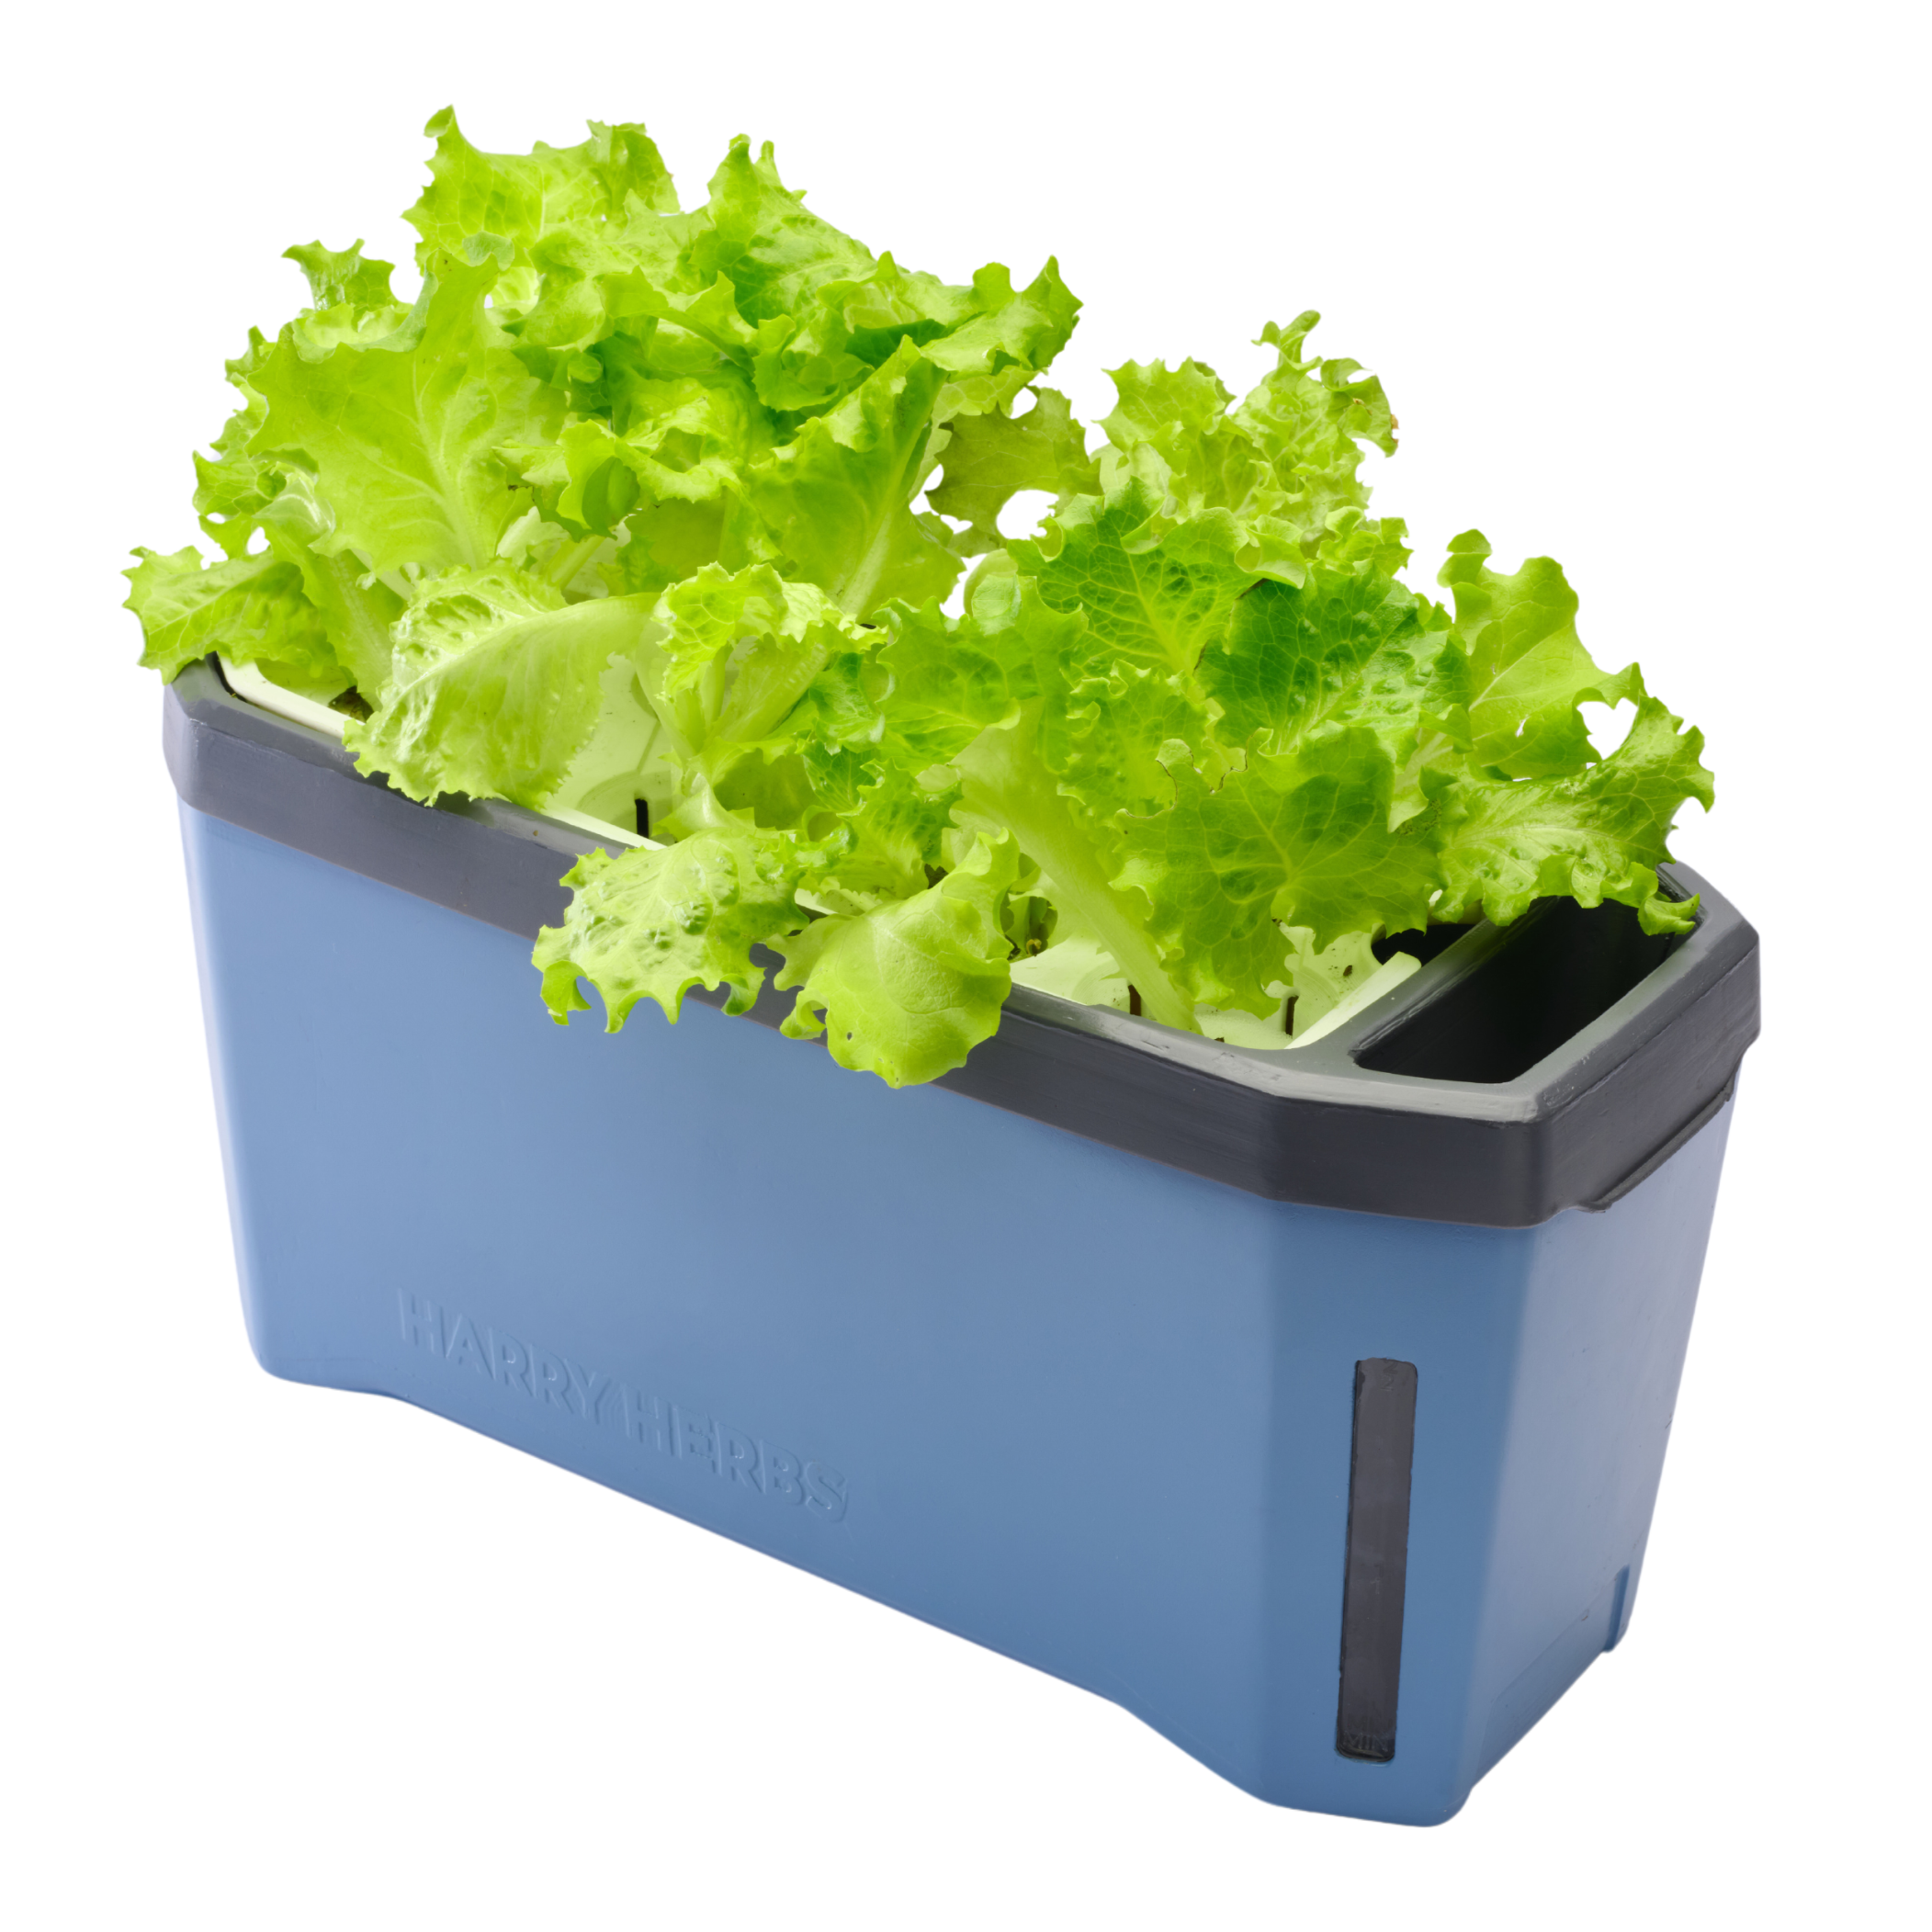
HARRY HERBS hydroponic planter
Overview
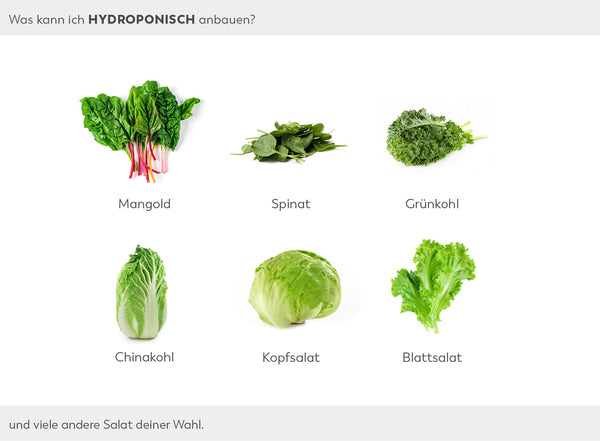
Ingredients
Step 1

Step 2

Step 3

Step 4

Step 5

Step 6

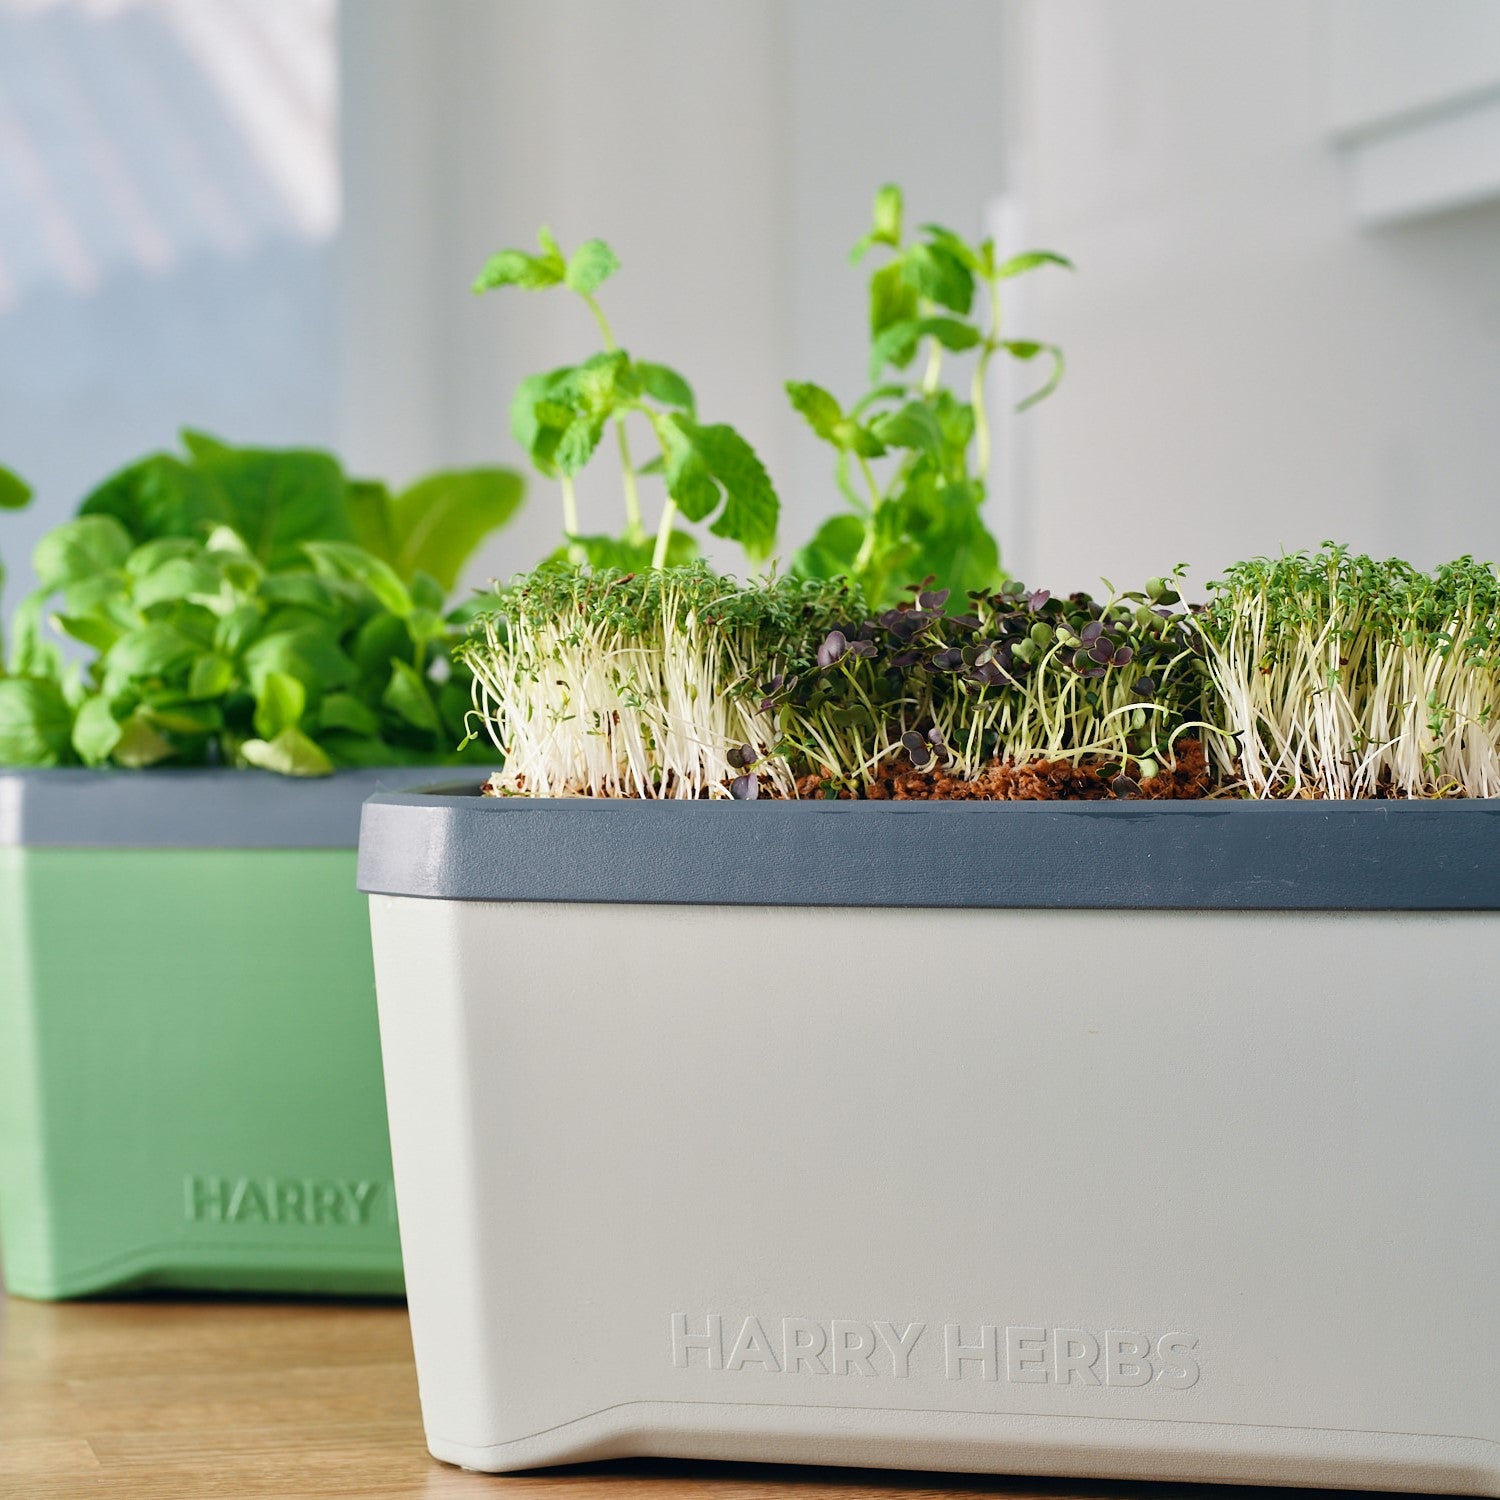
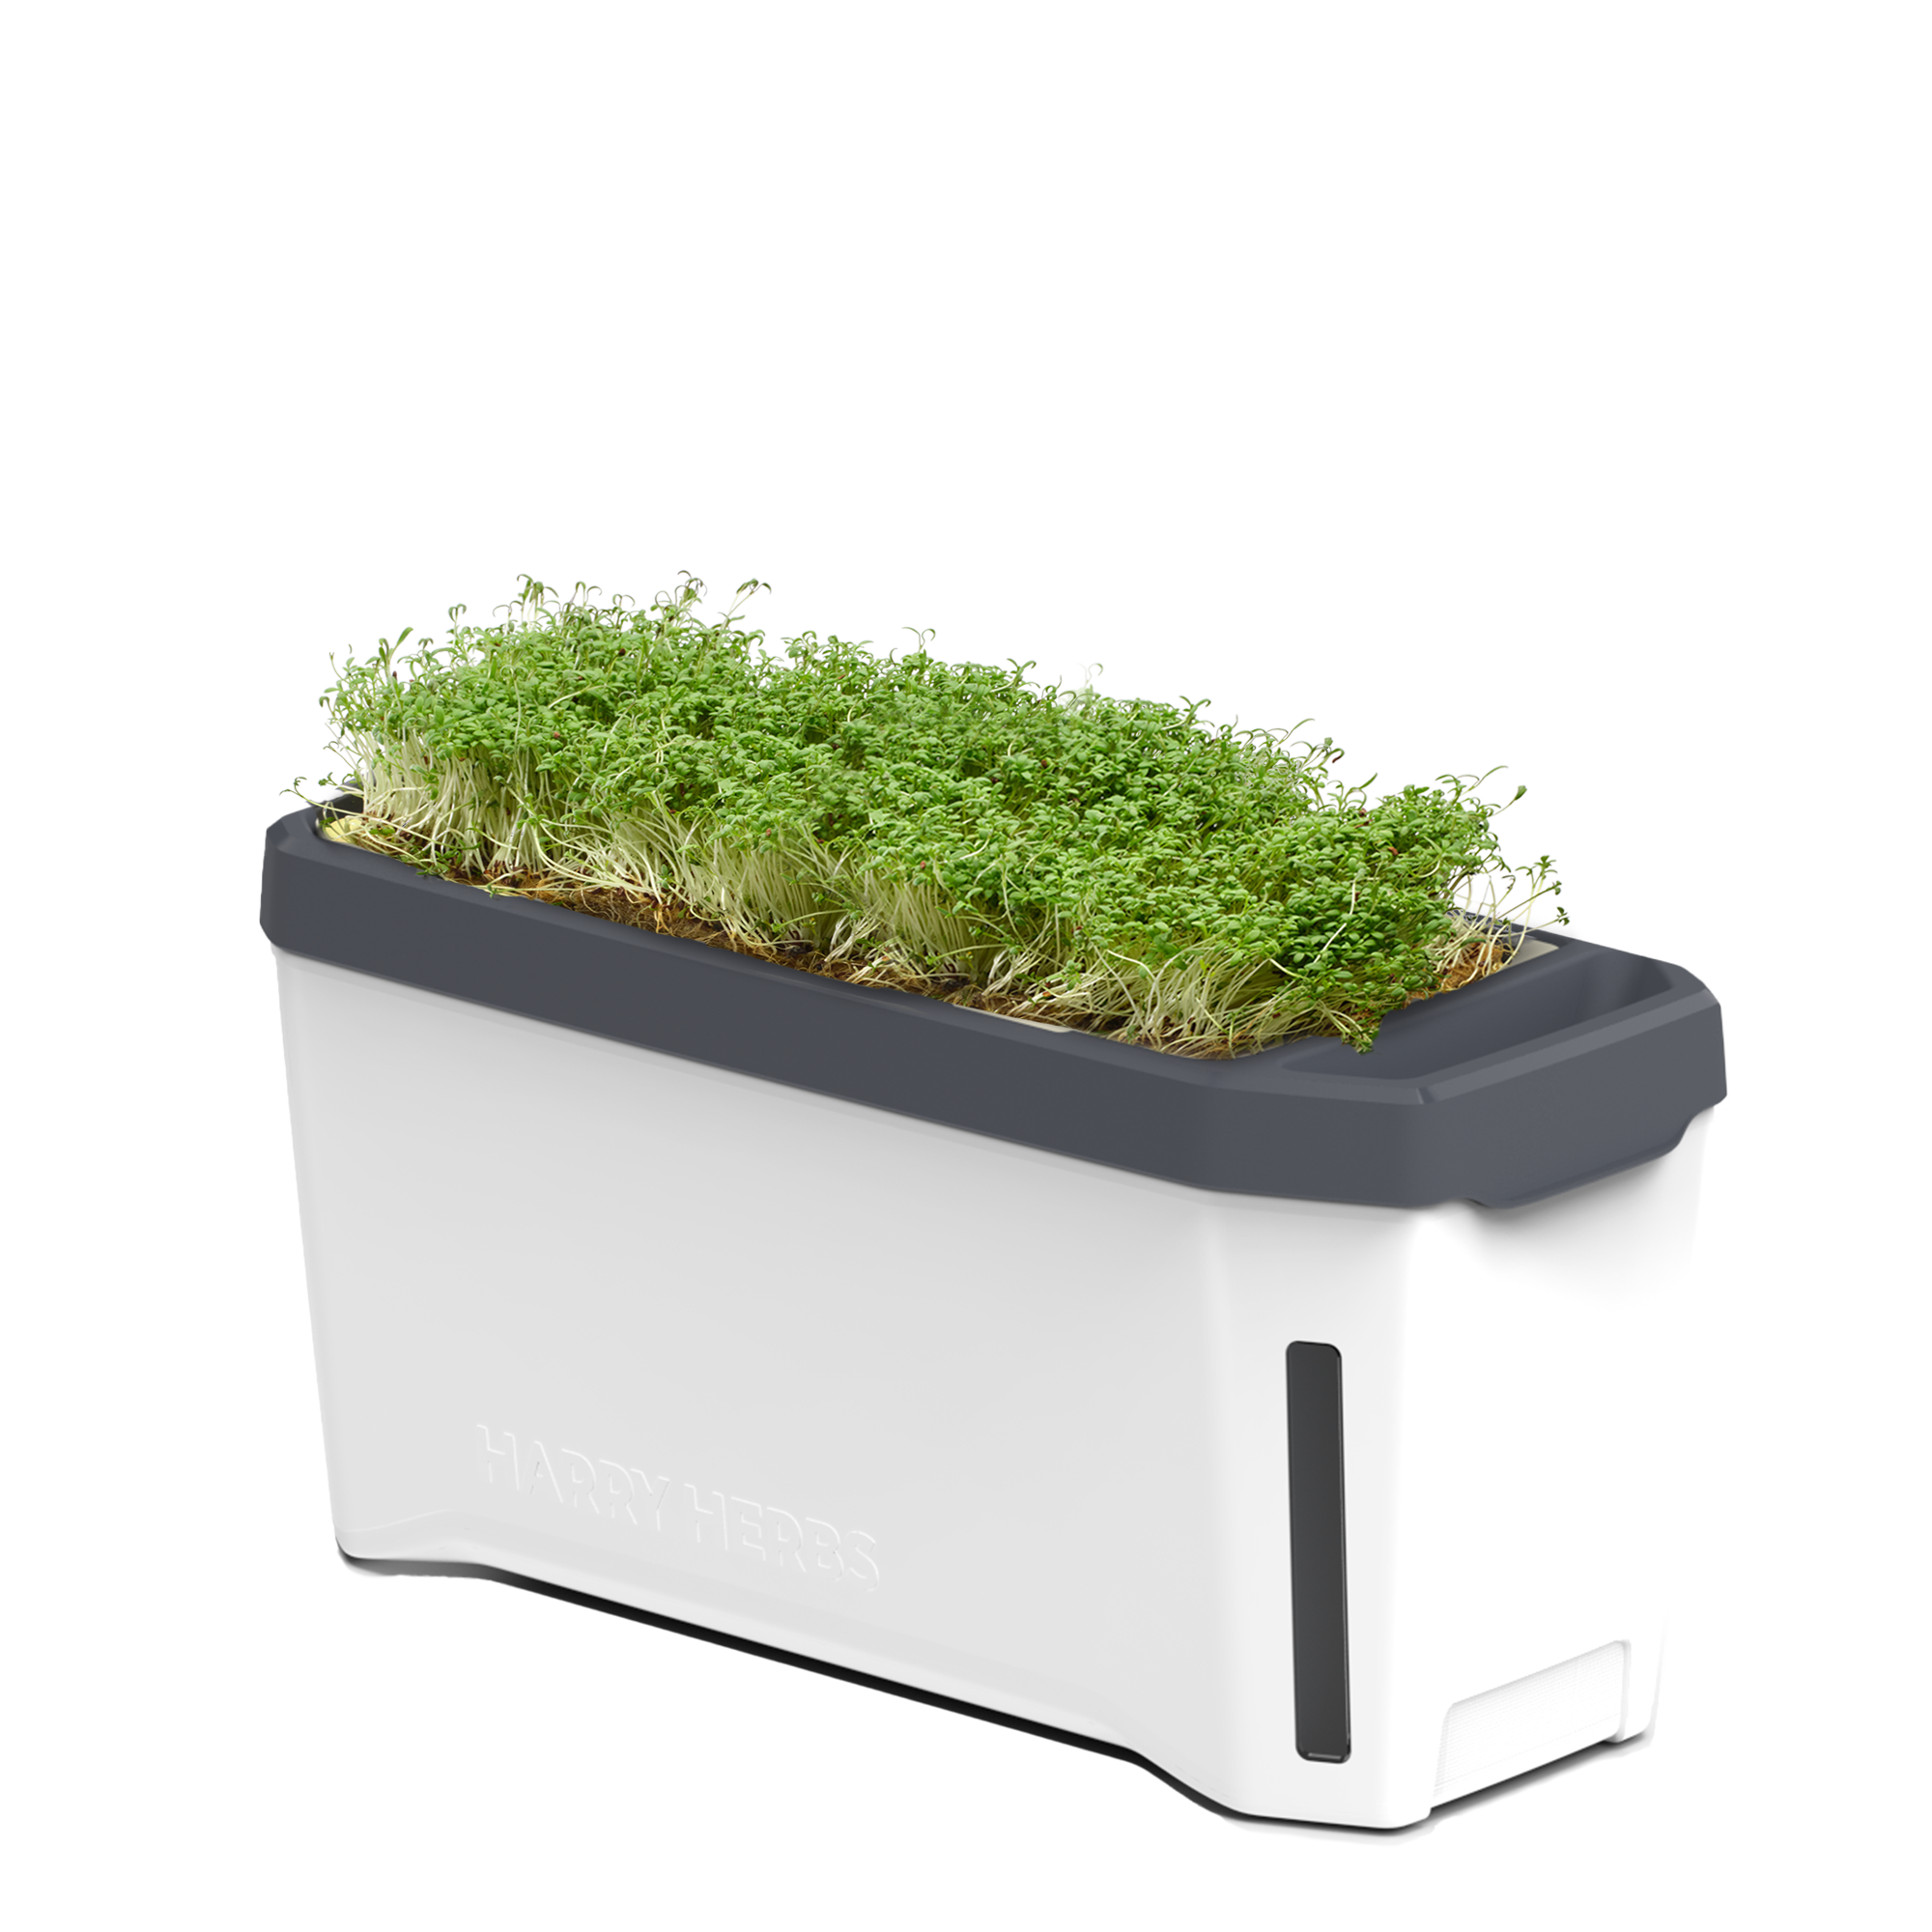
HARRY HERBS Microgreens
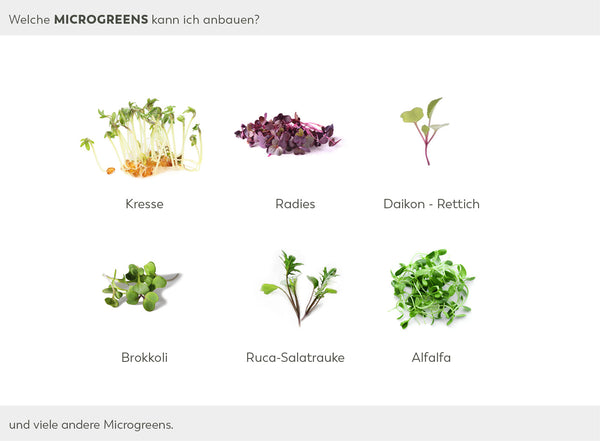
Overview
Ingredients
Step 1

Step 2

Step 3

Step 4

Step 5

Step 6

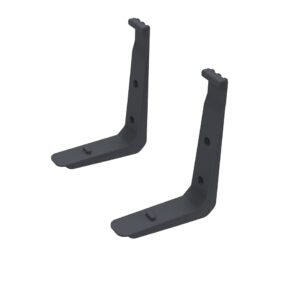
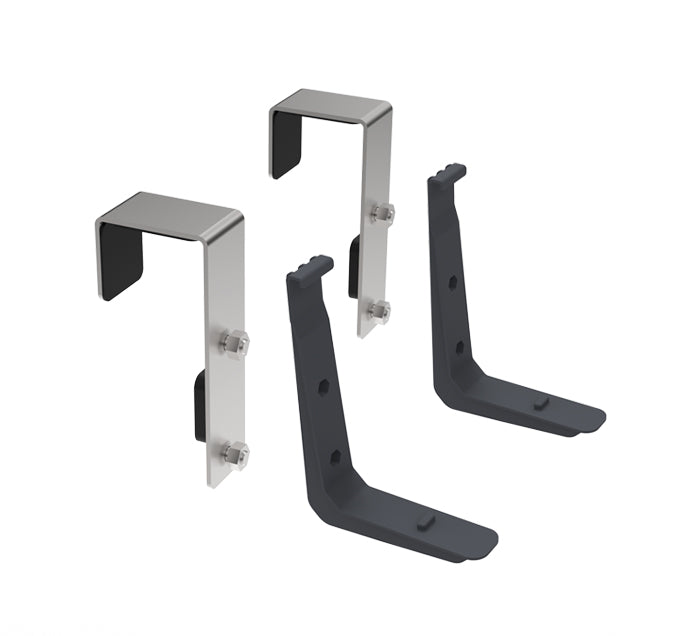
HARRY HERBS wall mount set-up
Step 1

Step 2

Step 3

HARRY HERBS balcony hanger set-up
Step 1

Step 2

Step 3

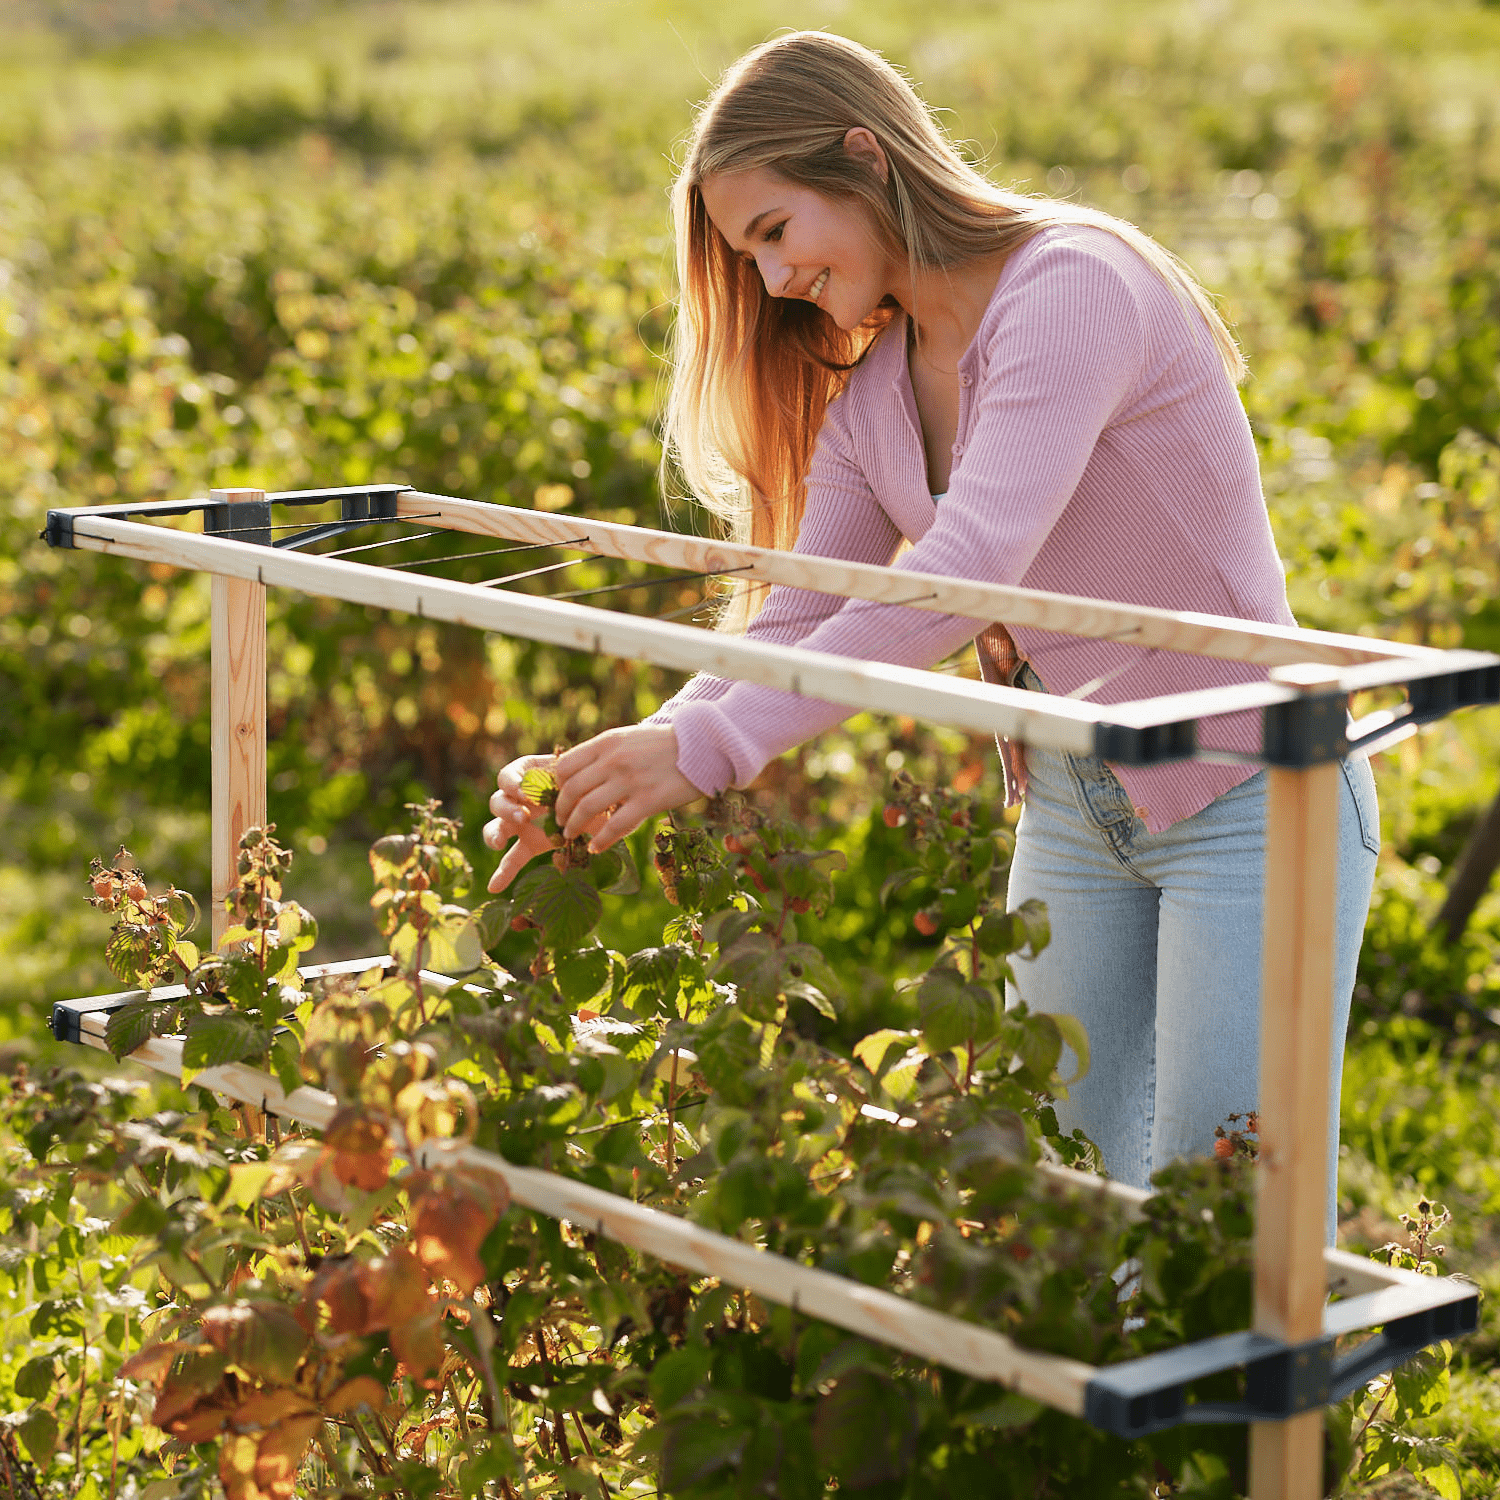
HARRY HERBS vertical garden
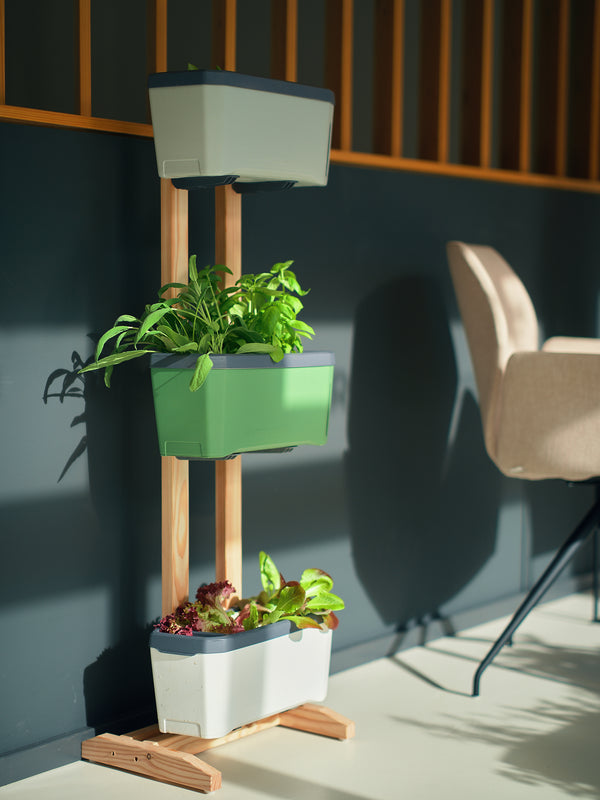
Overview
Ingredients
Step 1

Step 2

Step 3

Step 4

Step 5