
If you would like to grow your own fruit and vegetable plants from seeds, it is best to start your project between the end of February and the beginning of April. Below we'll tell you how to guarantee successful cultivation on your windowsill.
Optimal growth conditions
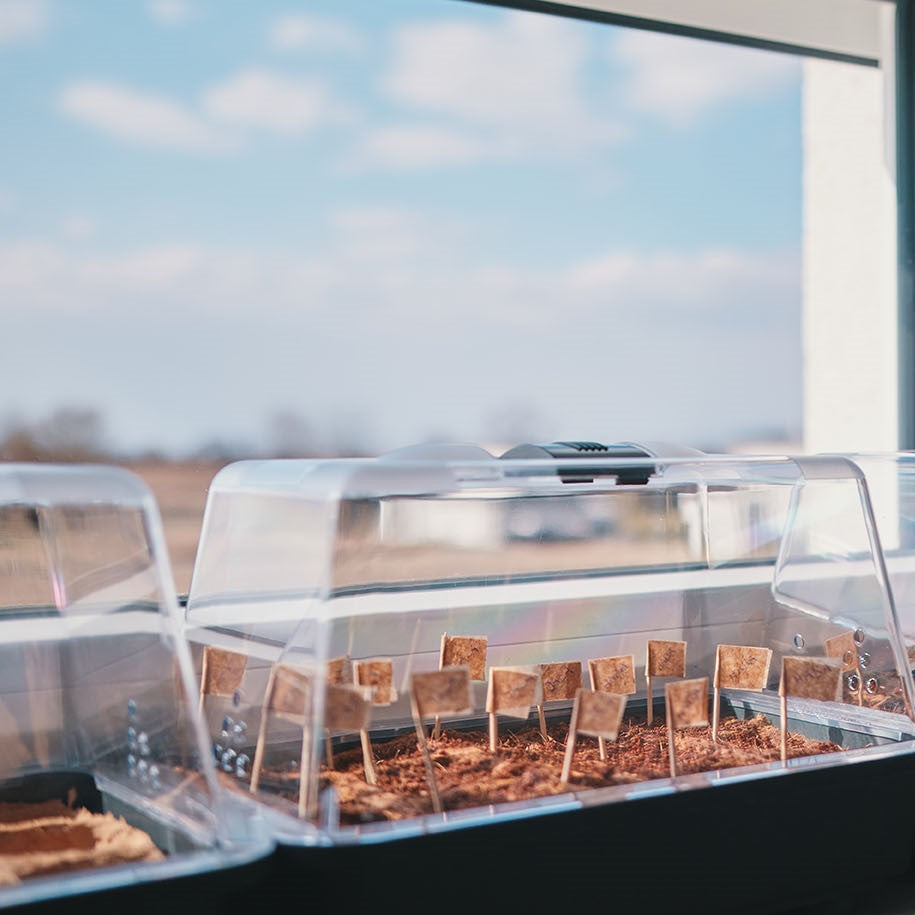
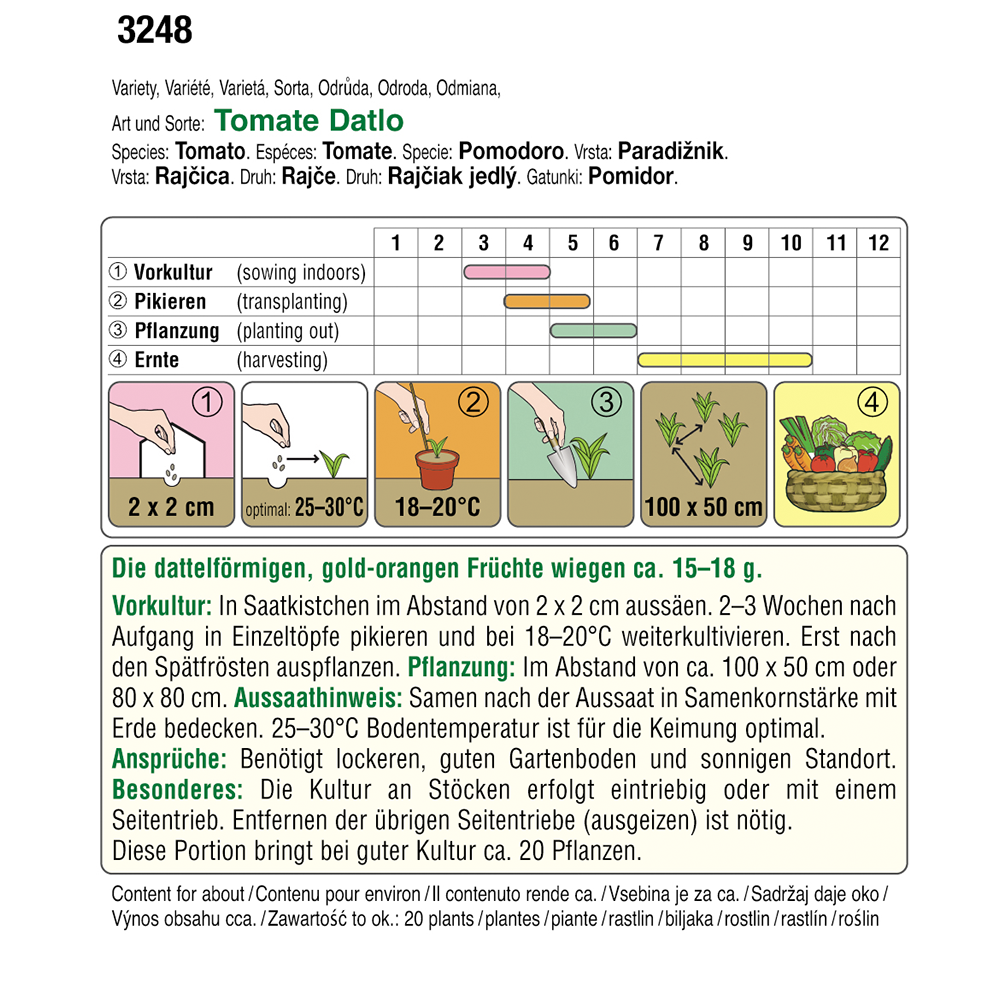
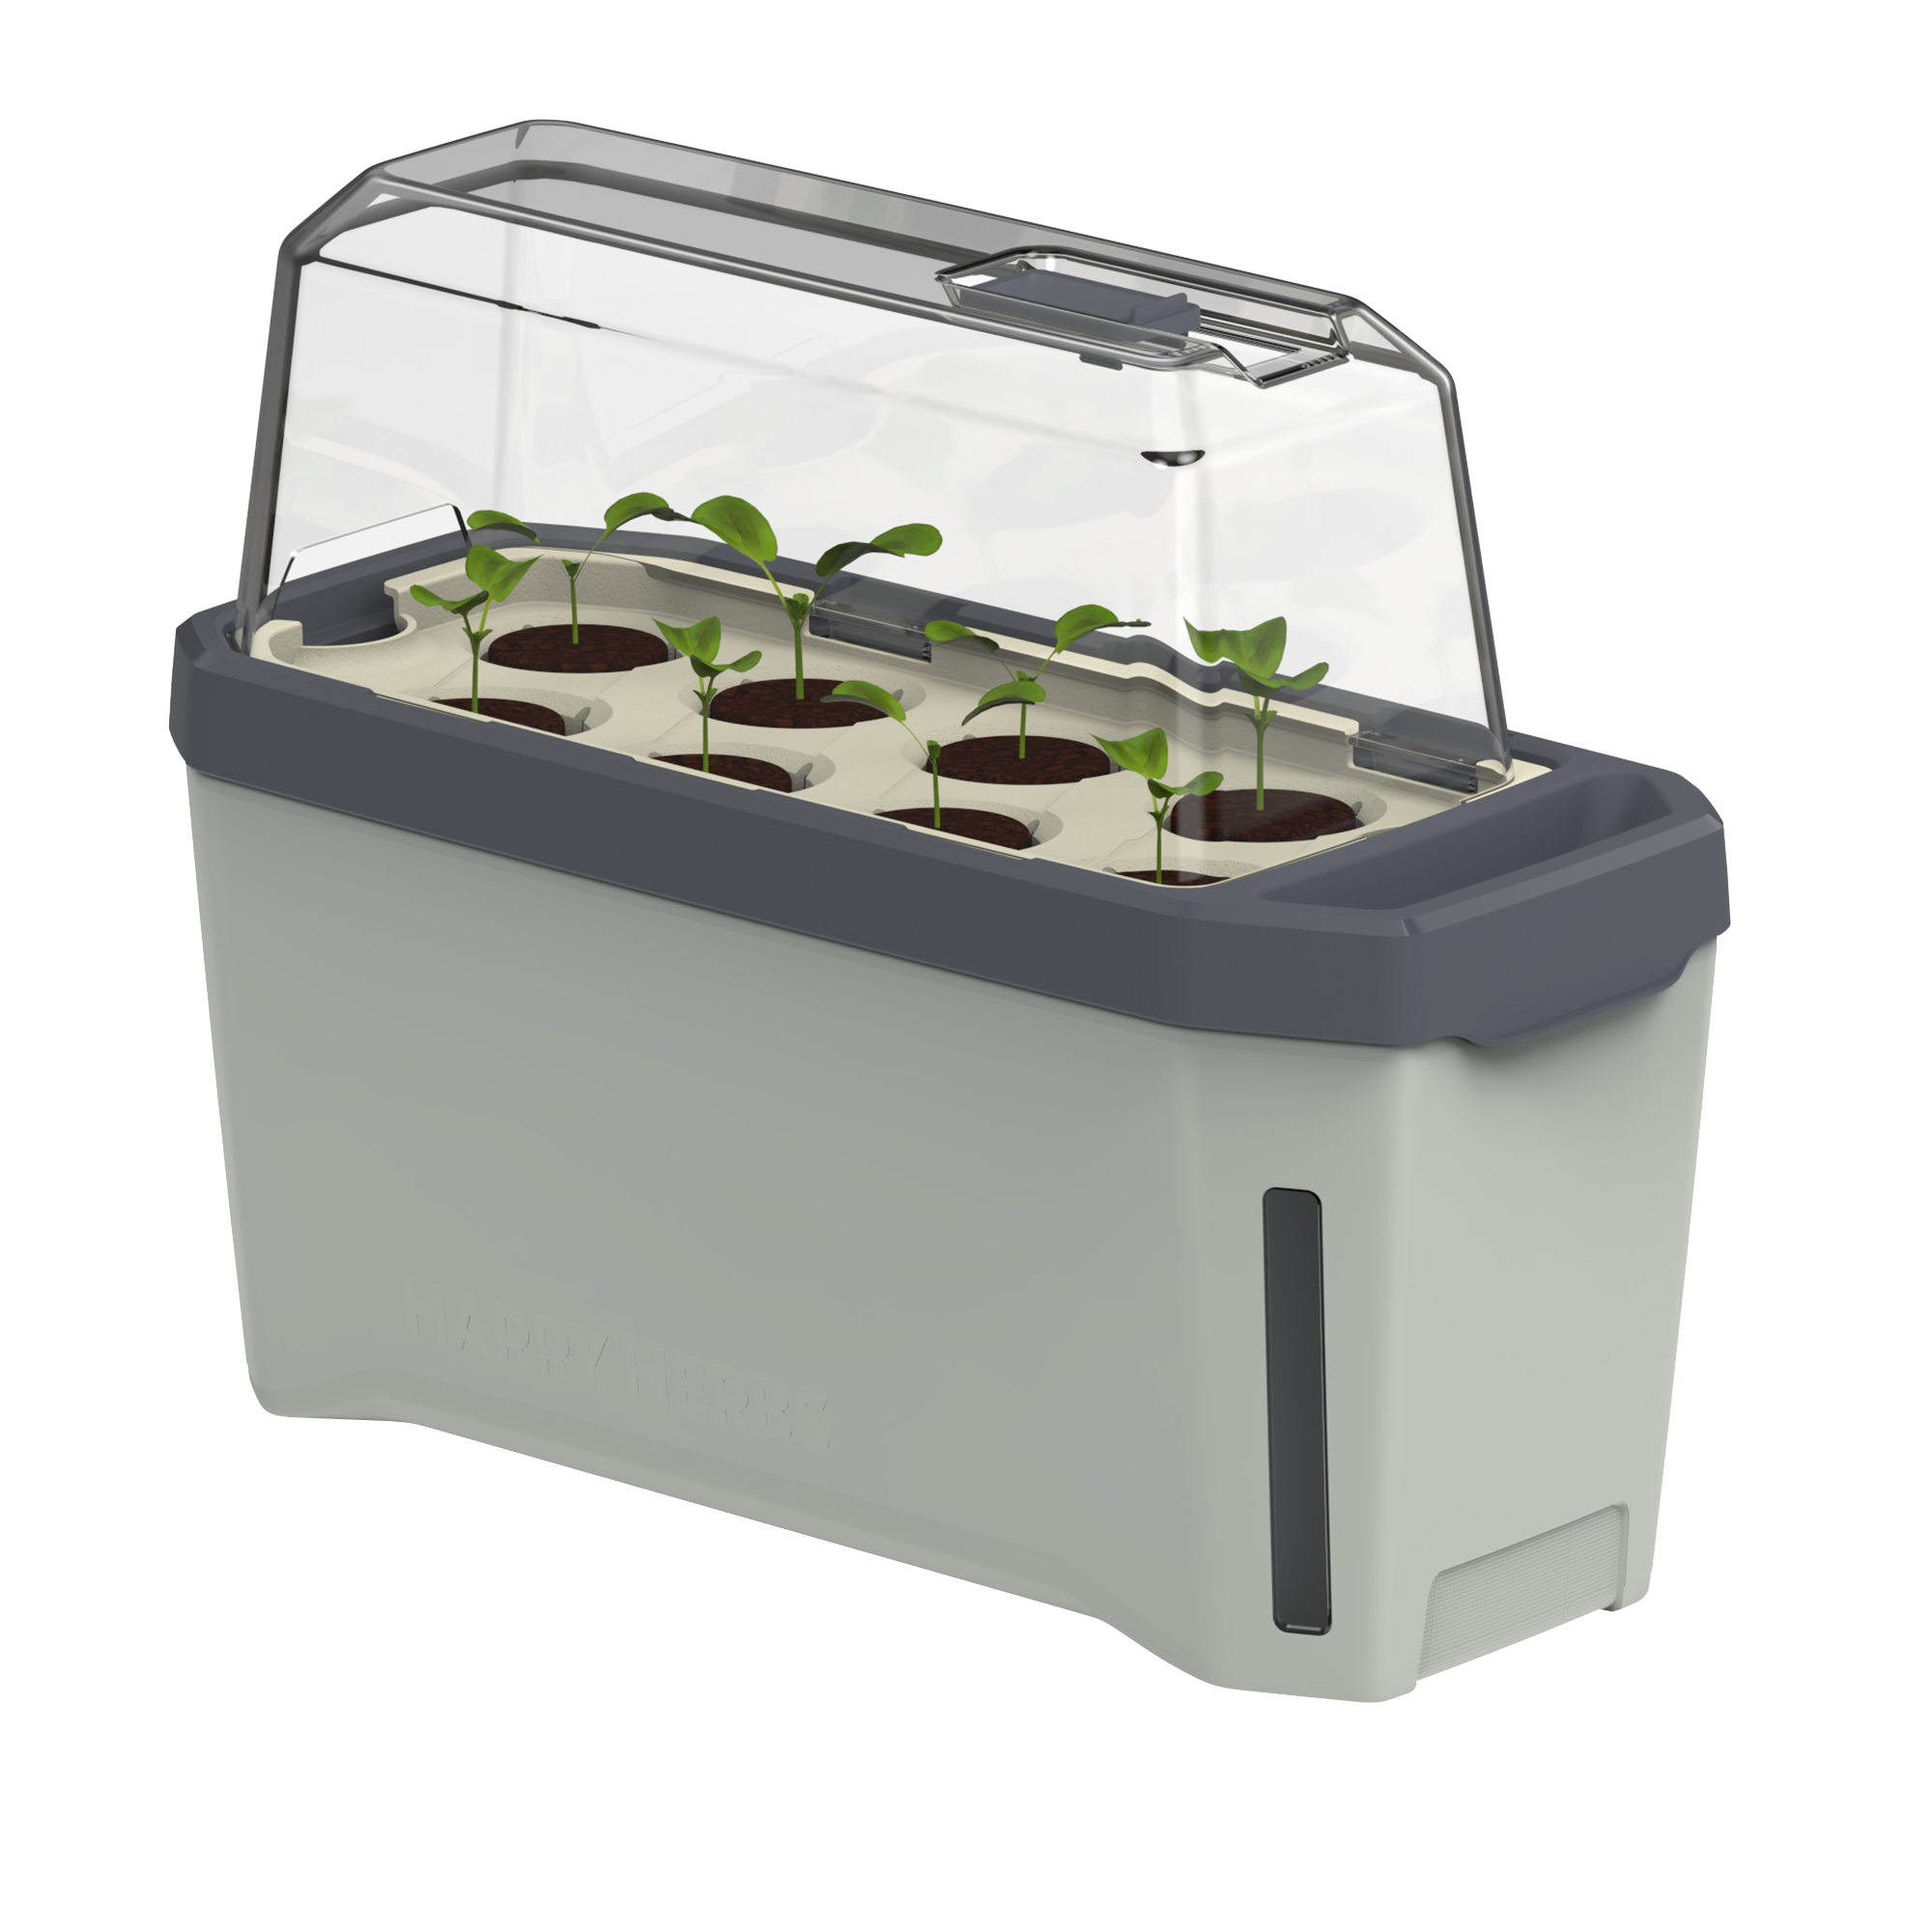
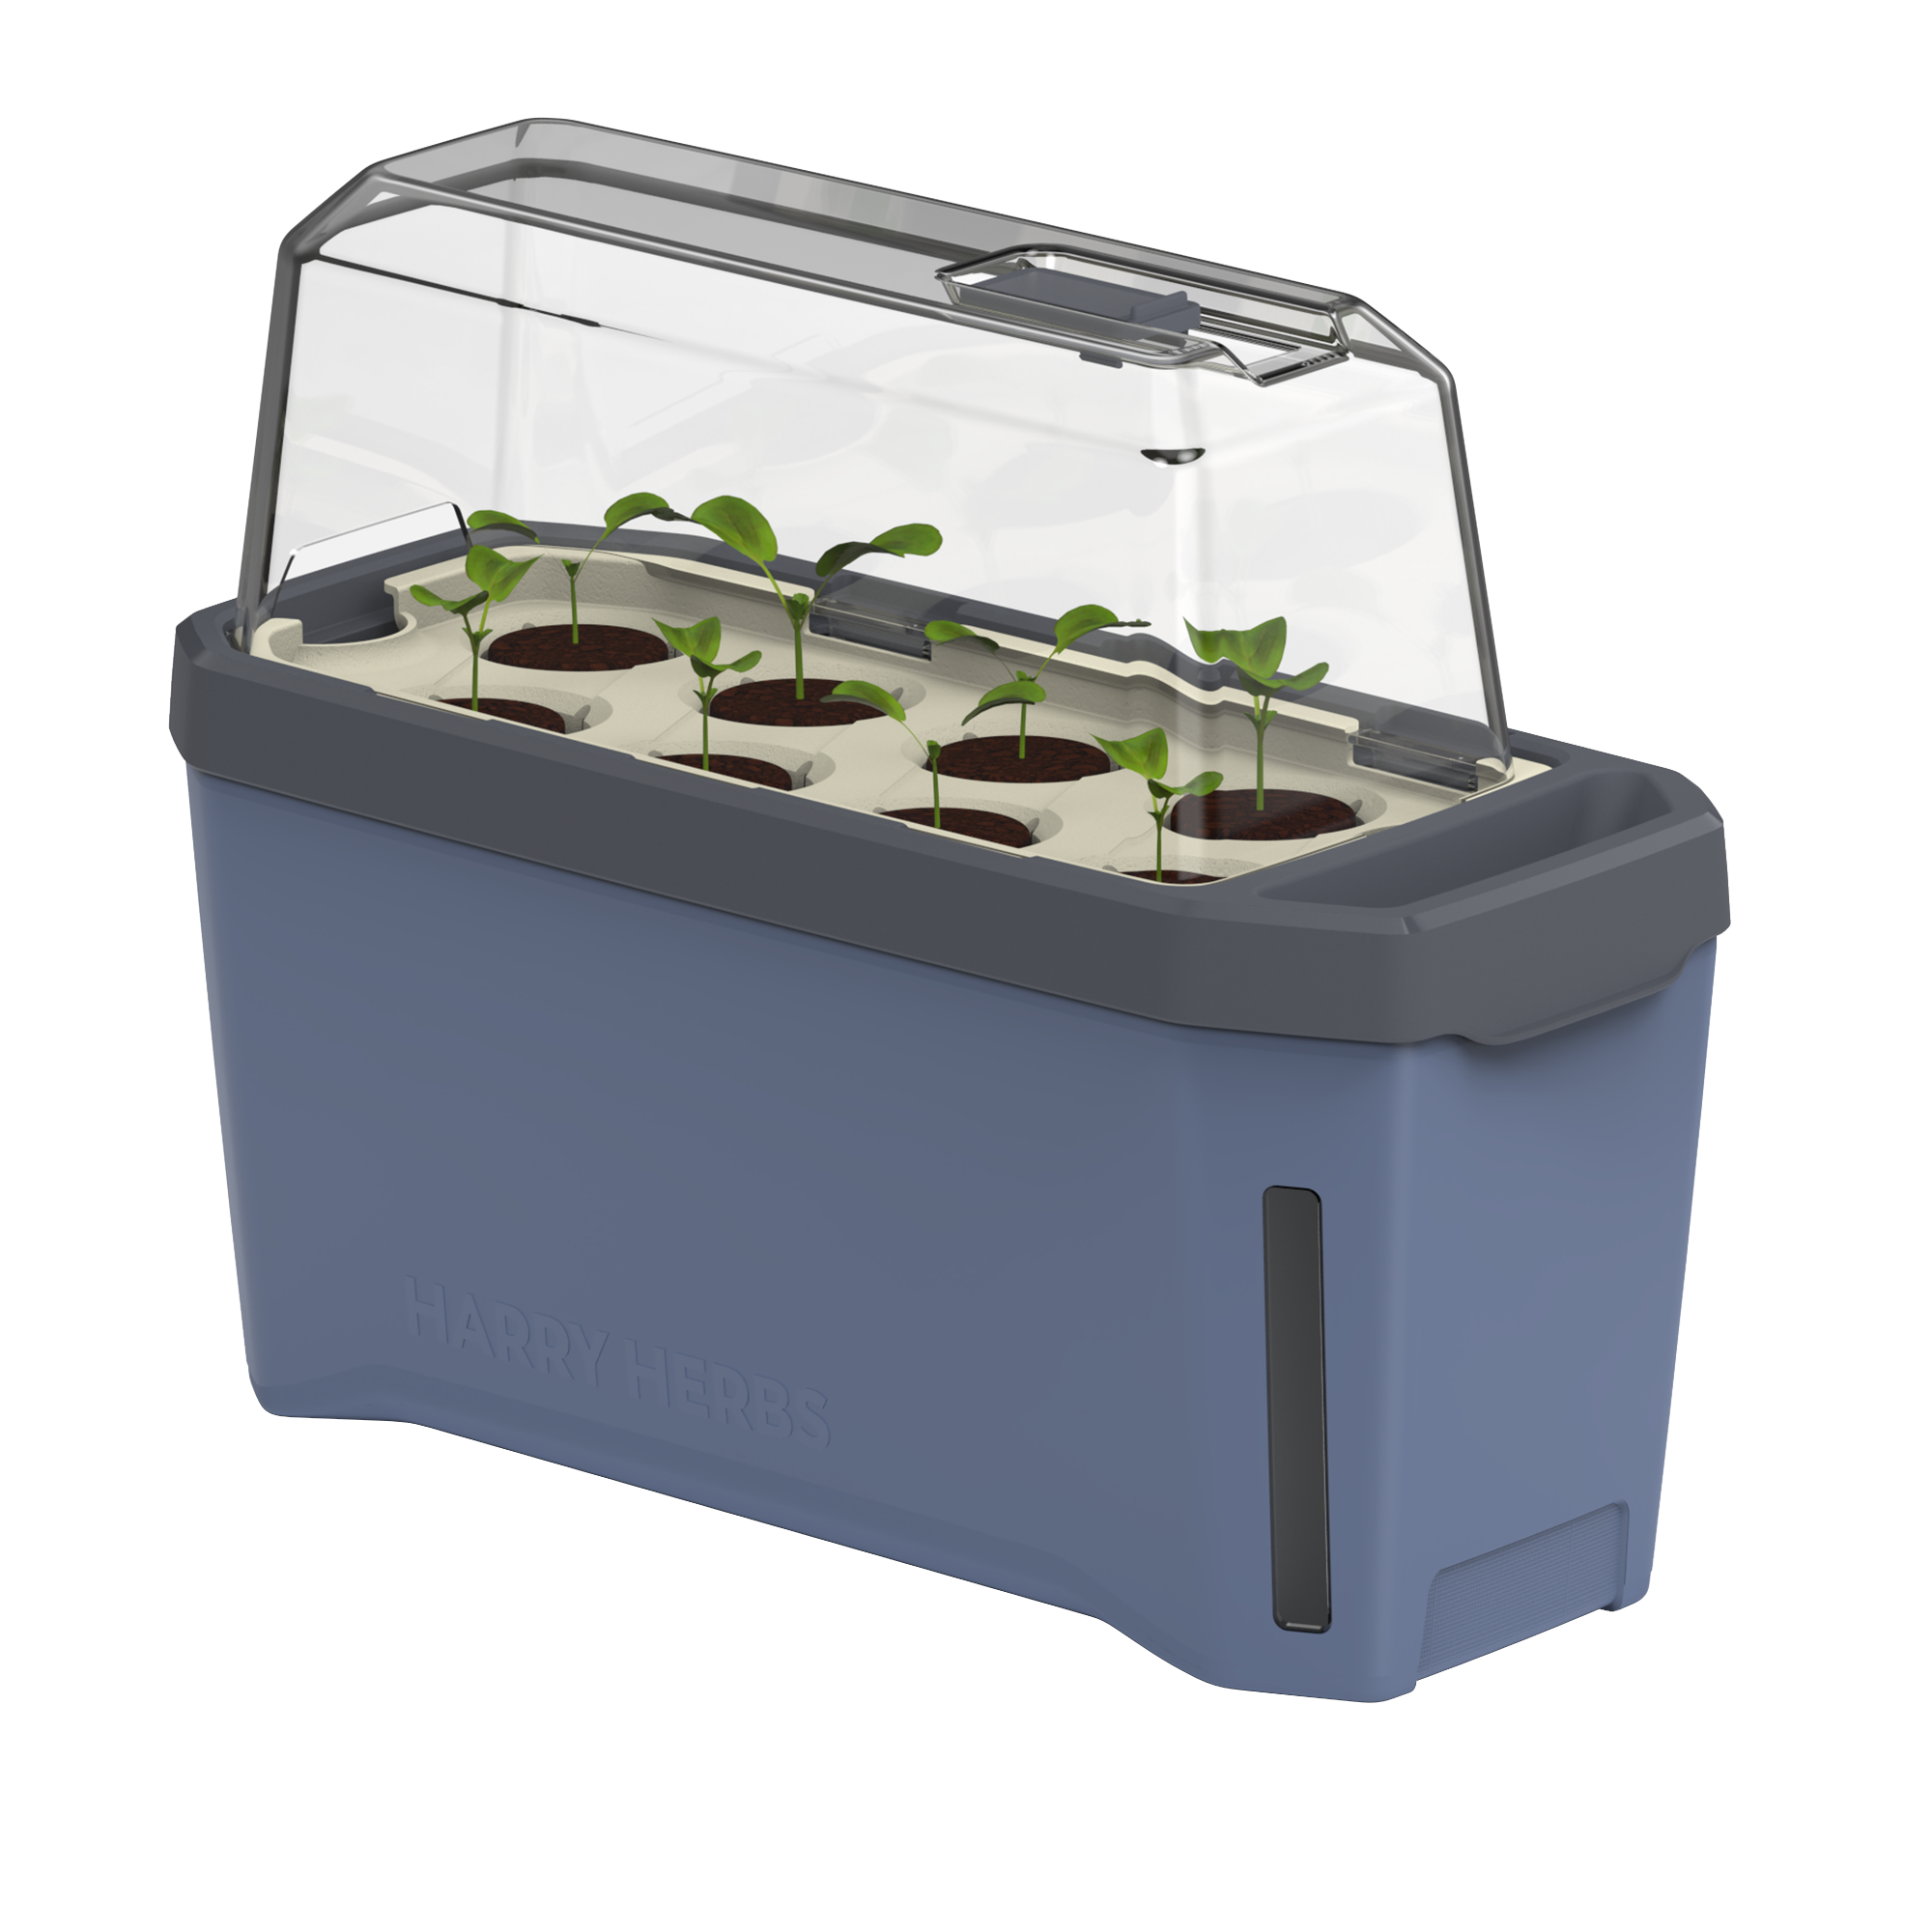
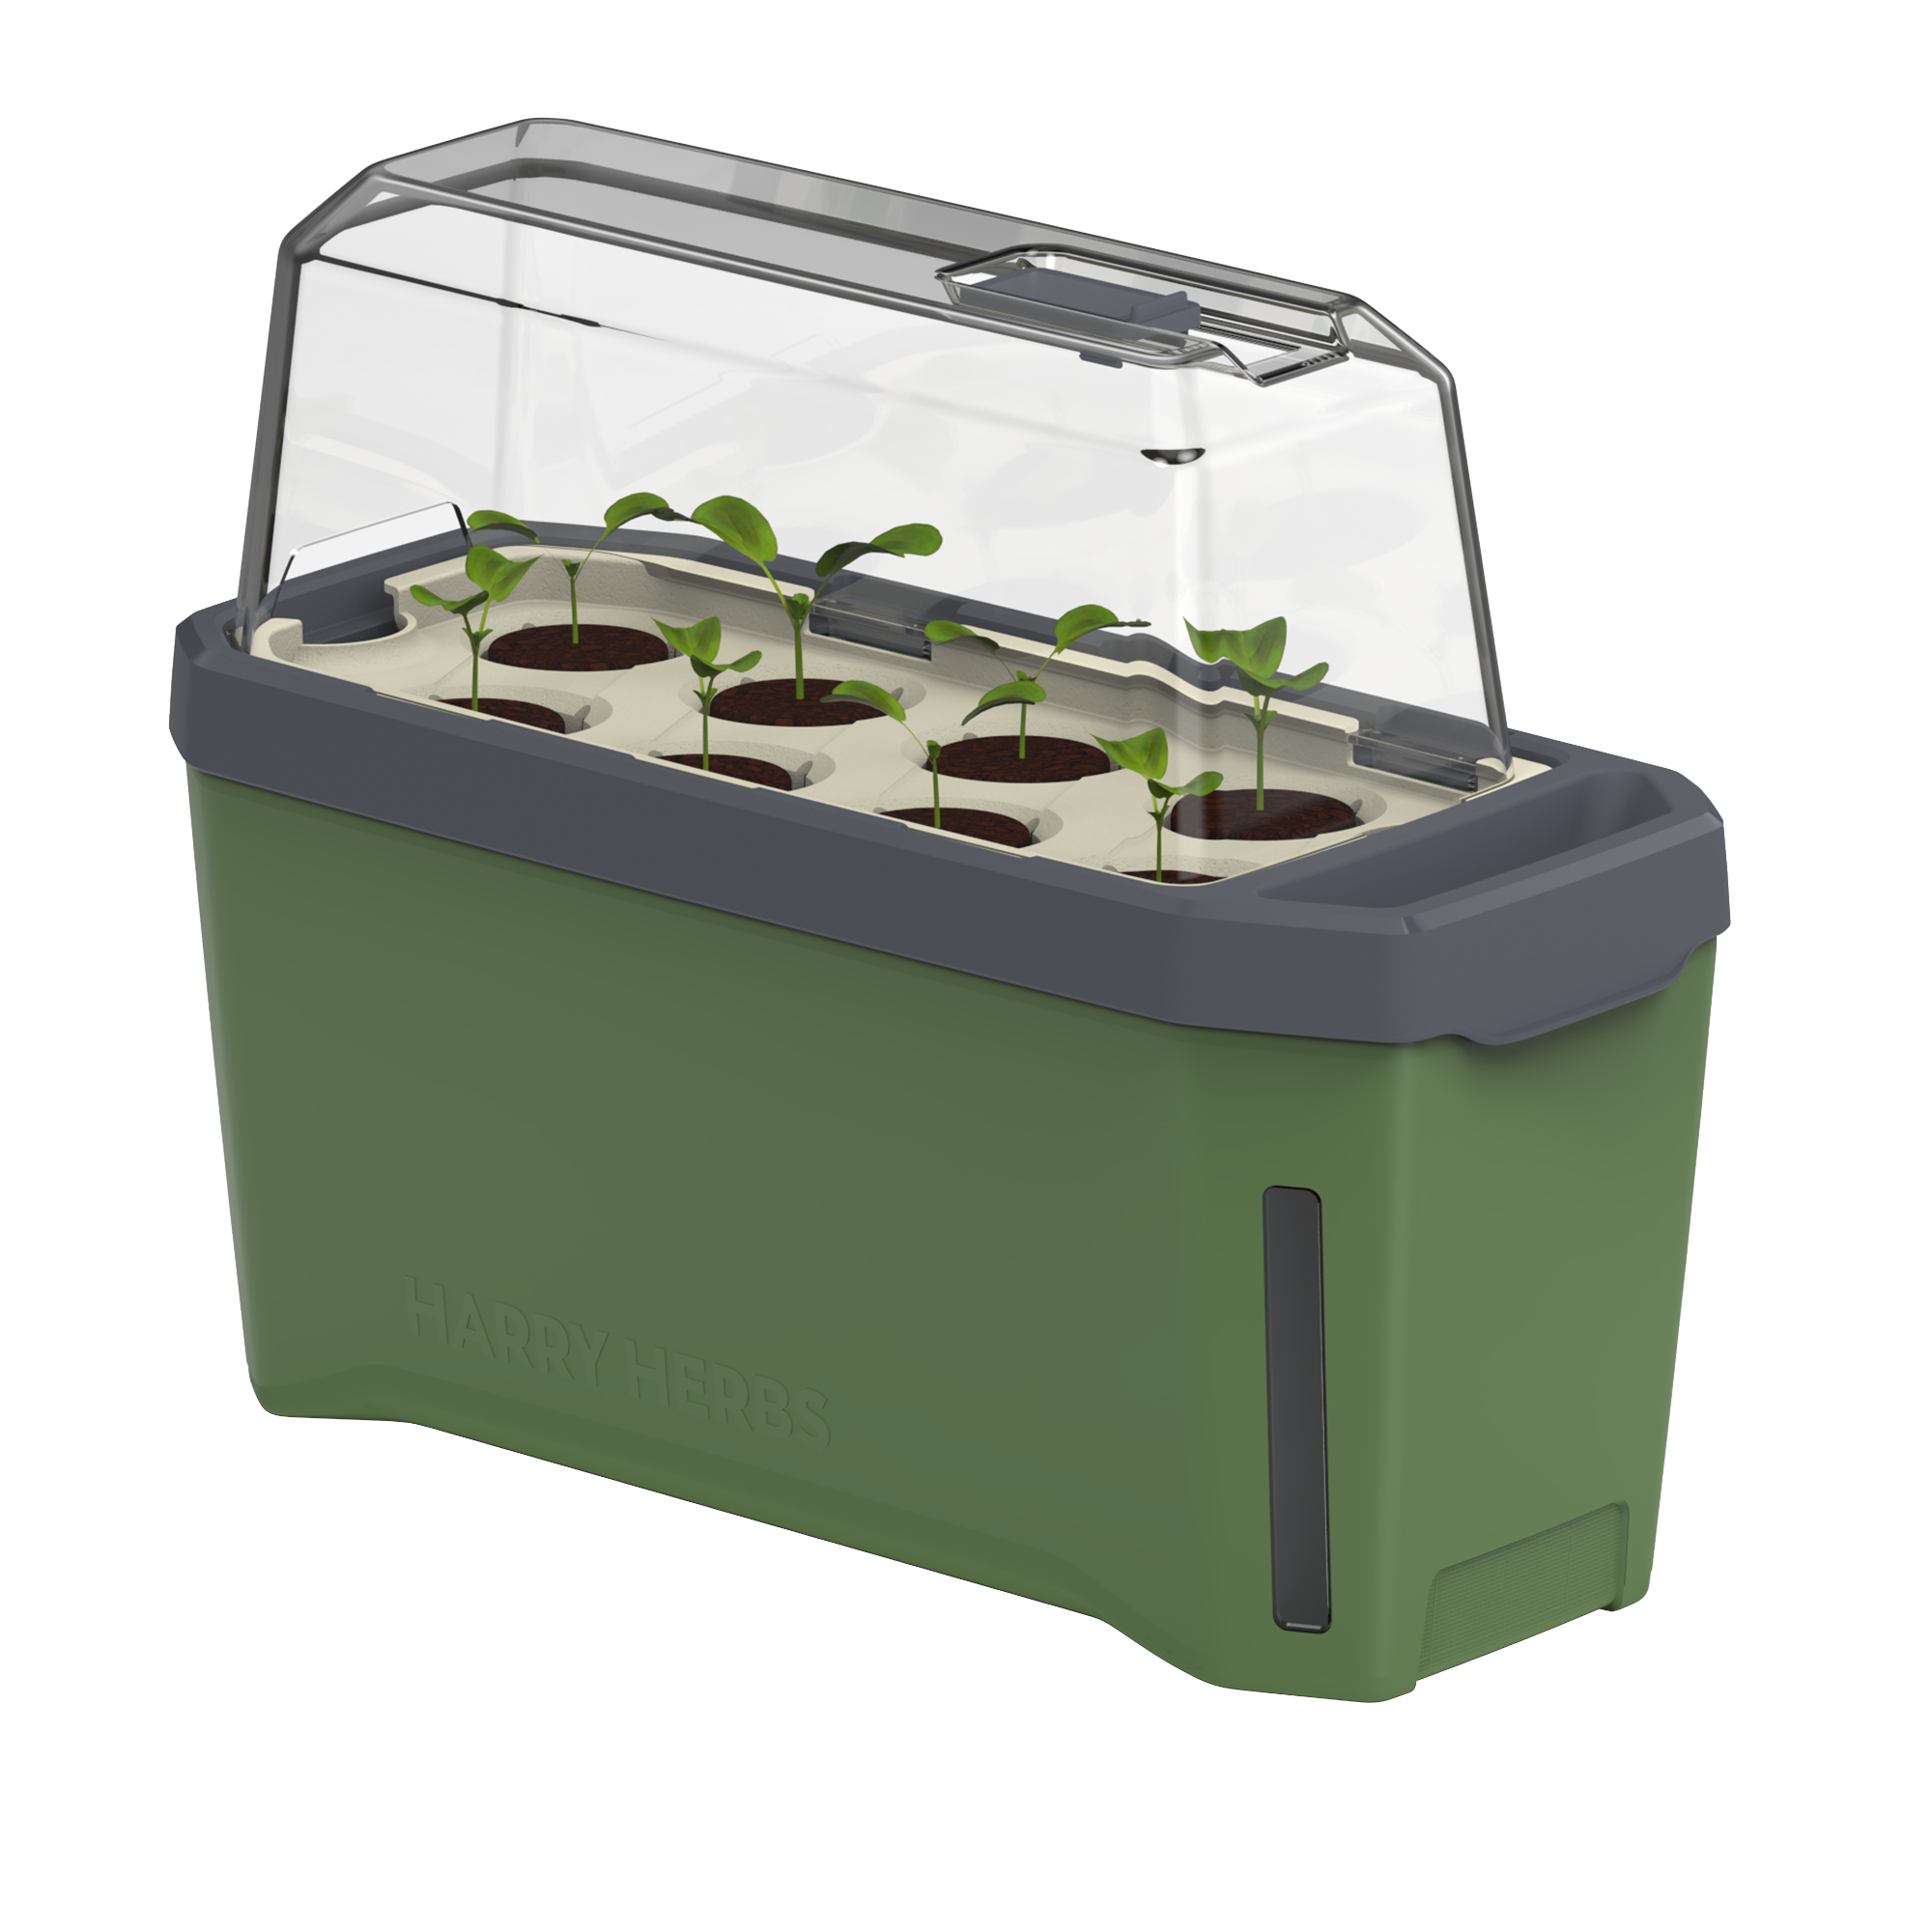
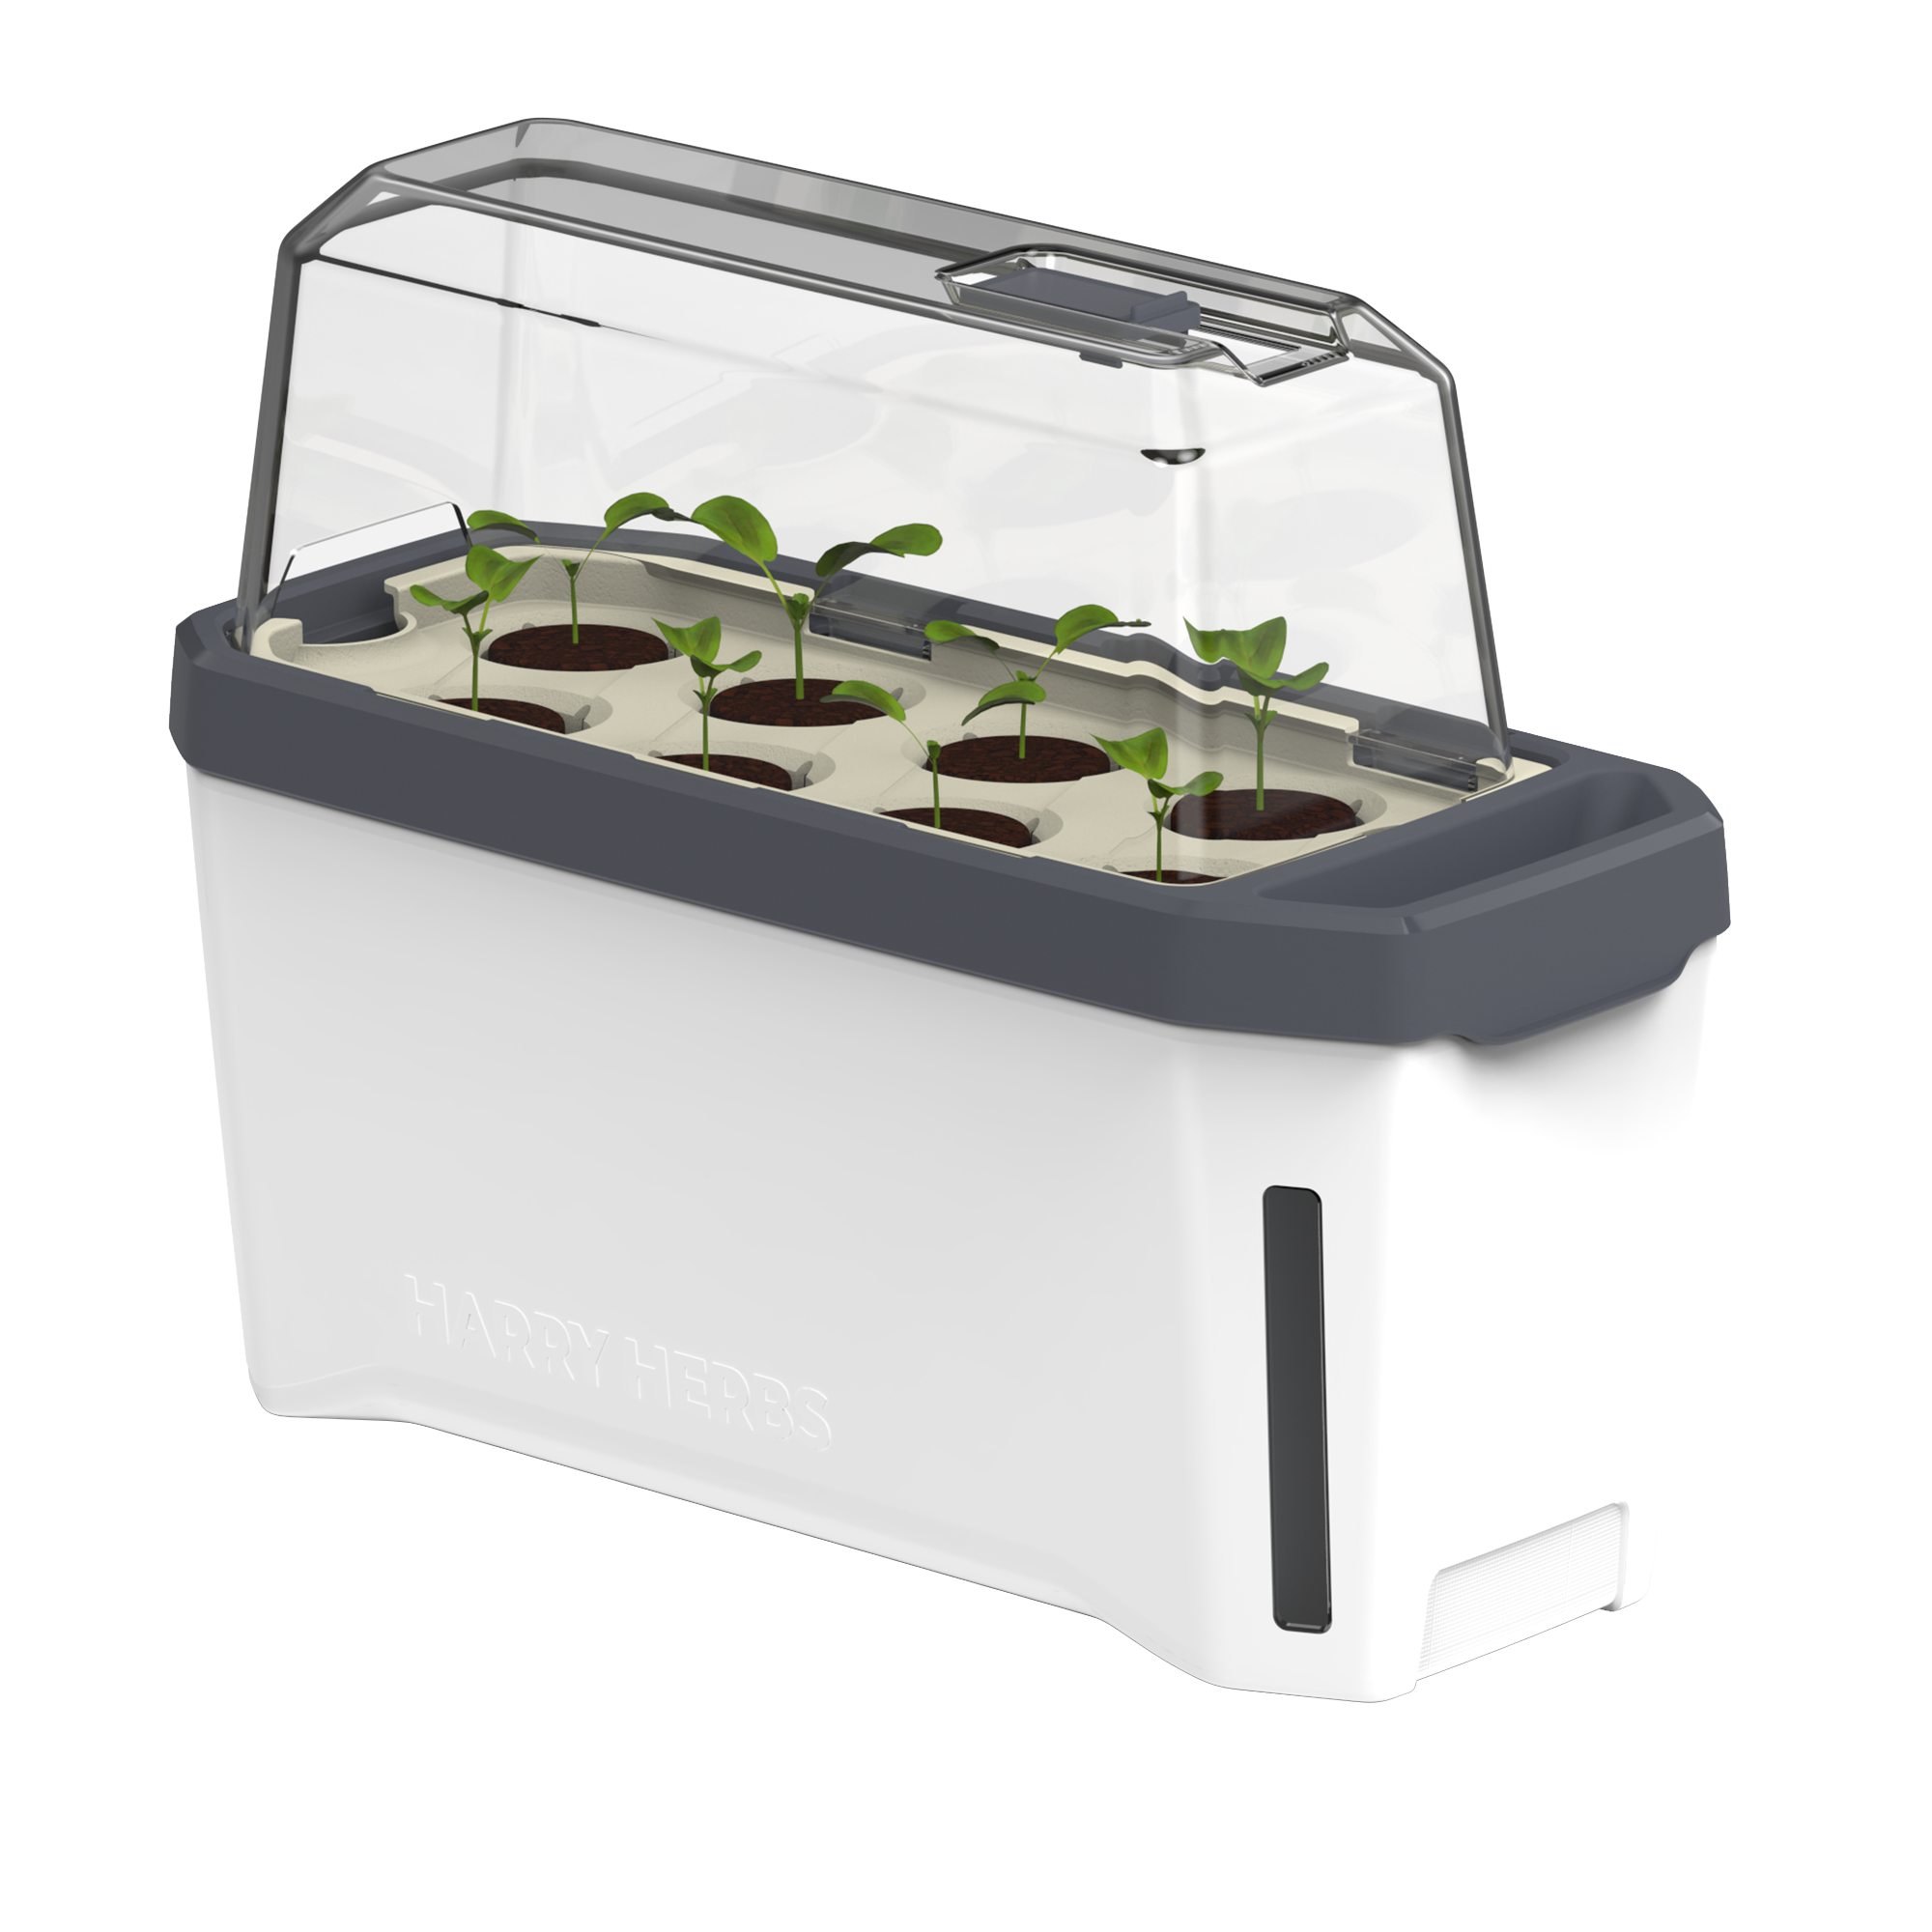
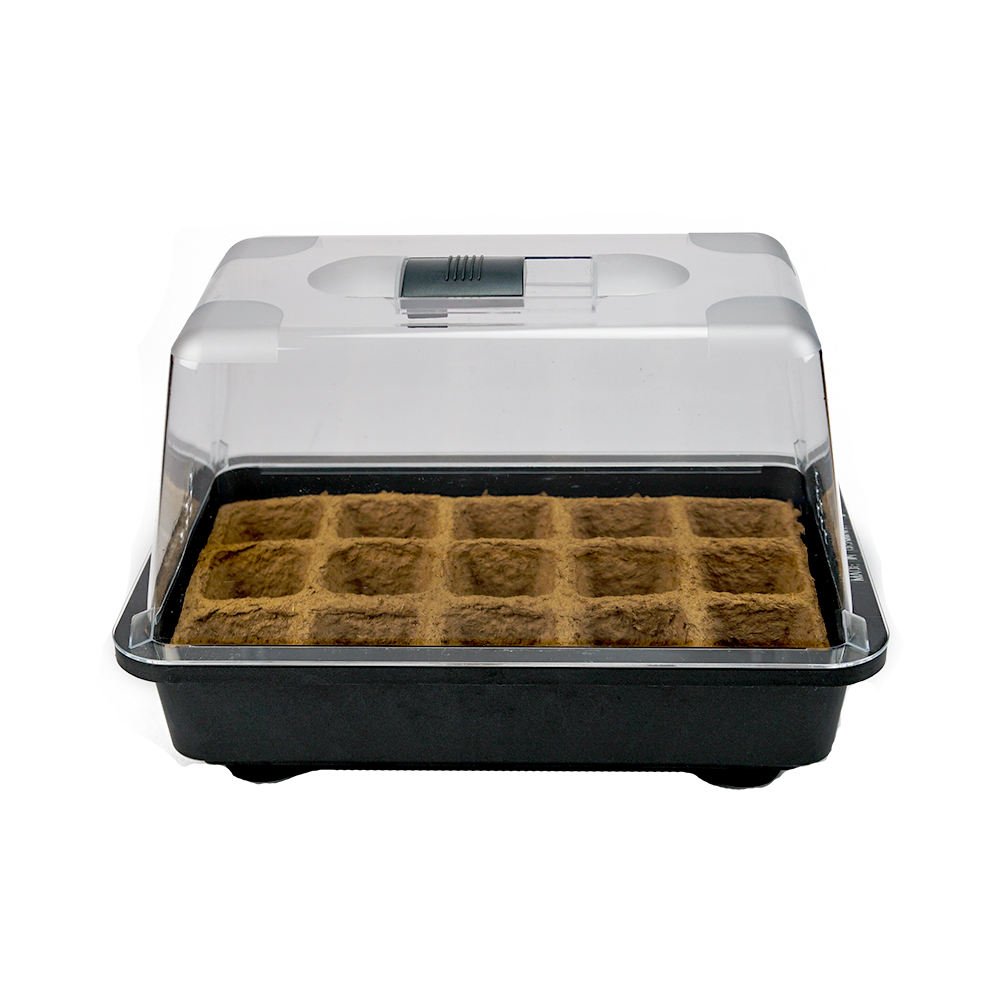
Young plants generally like it bright and warm when growing. A mini greenhouse or seed trays with lids are therefore ideal for providing the seedlings with an ideal environment and the optimal germination temperature. You can always find the required germination temperature for individual fruit and vegetable plants on the packaging of your seeds.
Special growing soil
In principle, plants are very similar to us humans. These small plants also have different nutritional requirements in their different phases of life. Seedlings therefore require far fewer nutrients than strong, fully grown plants. This is where the potting soil comes into play: this special substrate is tailored precisely to the needs of the young plants and contains fewer nutrients than conventional potting or universal soil . The soil is particularly fine-pored so that the initially hair-thin roots can develop.
In addition, the small seedlings are very susceptible to pests and diseases in the early stages of their life. Therefore, growing soil is usually sterile and therefore germ-free. Likewise, no seeds or roots of other plants are included. This means that no further seeds can germinate, which would later hinder the growth of the young plants.
You can find out how to use our pop-up potting soil correctly in the mini greenhouse instructions.

Sowing light and dark germinators
Sow your selected seeds evenly and superficially in the seed pots - but don't mix the varieties! Strawberry seeds are so-called light germinators, so they must not be buried underground. For tomato and chili seeds, you can drill a hole in the soil with a round stick, place the seeds in it and cover them lightly with potting soil. You should then moisten the surface a little with a spray bottle. Last but not least, the lid is put on to provide your seeds with a warm, moist environment. You can also soak the seeds in water for a day before planting. This shortens the germination time a little for some varieties. However, always pay attention to the information on the respective seed package.
Identify varieties
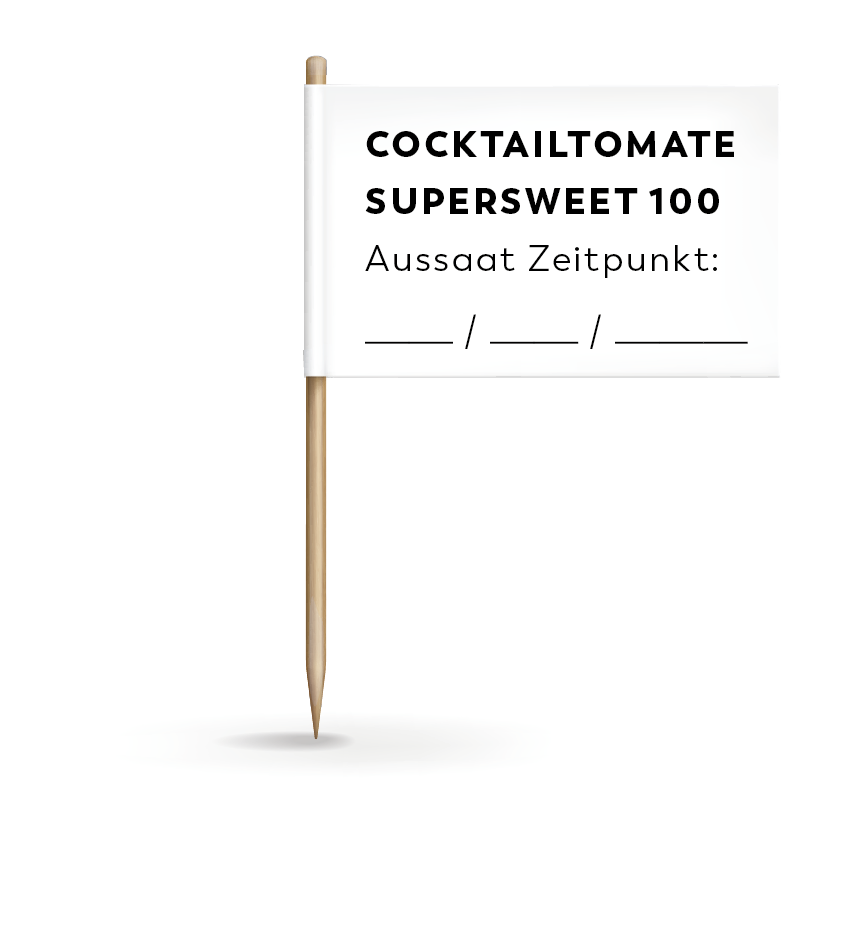
With many different varieties in a mini greenhouse, you can quickly lose track. To ensure that this doesn't happen to you, we have designed plant signs for all varieties that you can print out and cut out at home. Suitable for your SISSI STRAWBERRY seed mix , CHARLY CHILI seed mix and TOM TOMATO seed mix .
You can find the appropriate PDF files to print out here 👇
- Plant signs CHARLY CHILI seed mix
- Plant signs TOM TOMATO seed mix
- Plant signs SISSI STRAWBERRY seed mix
The right location
Depending on the variety, the germination temperature should be around 25 to 28 degrees Celsius. A light source is not absolutely necessary during this time. Only when the plants have made their way to the surface do they need sunlight. But make sure that they are not exposed to too much sunlight.
Tip:
If possible, avoid placing your mini greenhouse over a heater that constantly produces warm air. The warm heating air would cause the seedlings to shoot up too quickly and develop few leaves and side shoots.
Ongoing care
Keep the lid of your mini greenhouse closed and only open it briefly once a day to ventilate. The soil should be constantly moist, but not wet - ATTENTION: if it is wet, rot can occur.
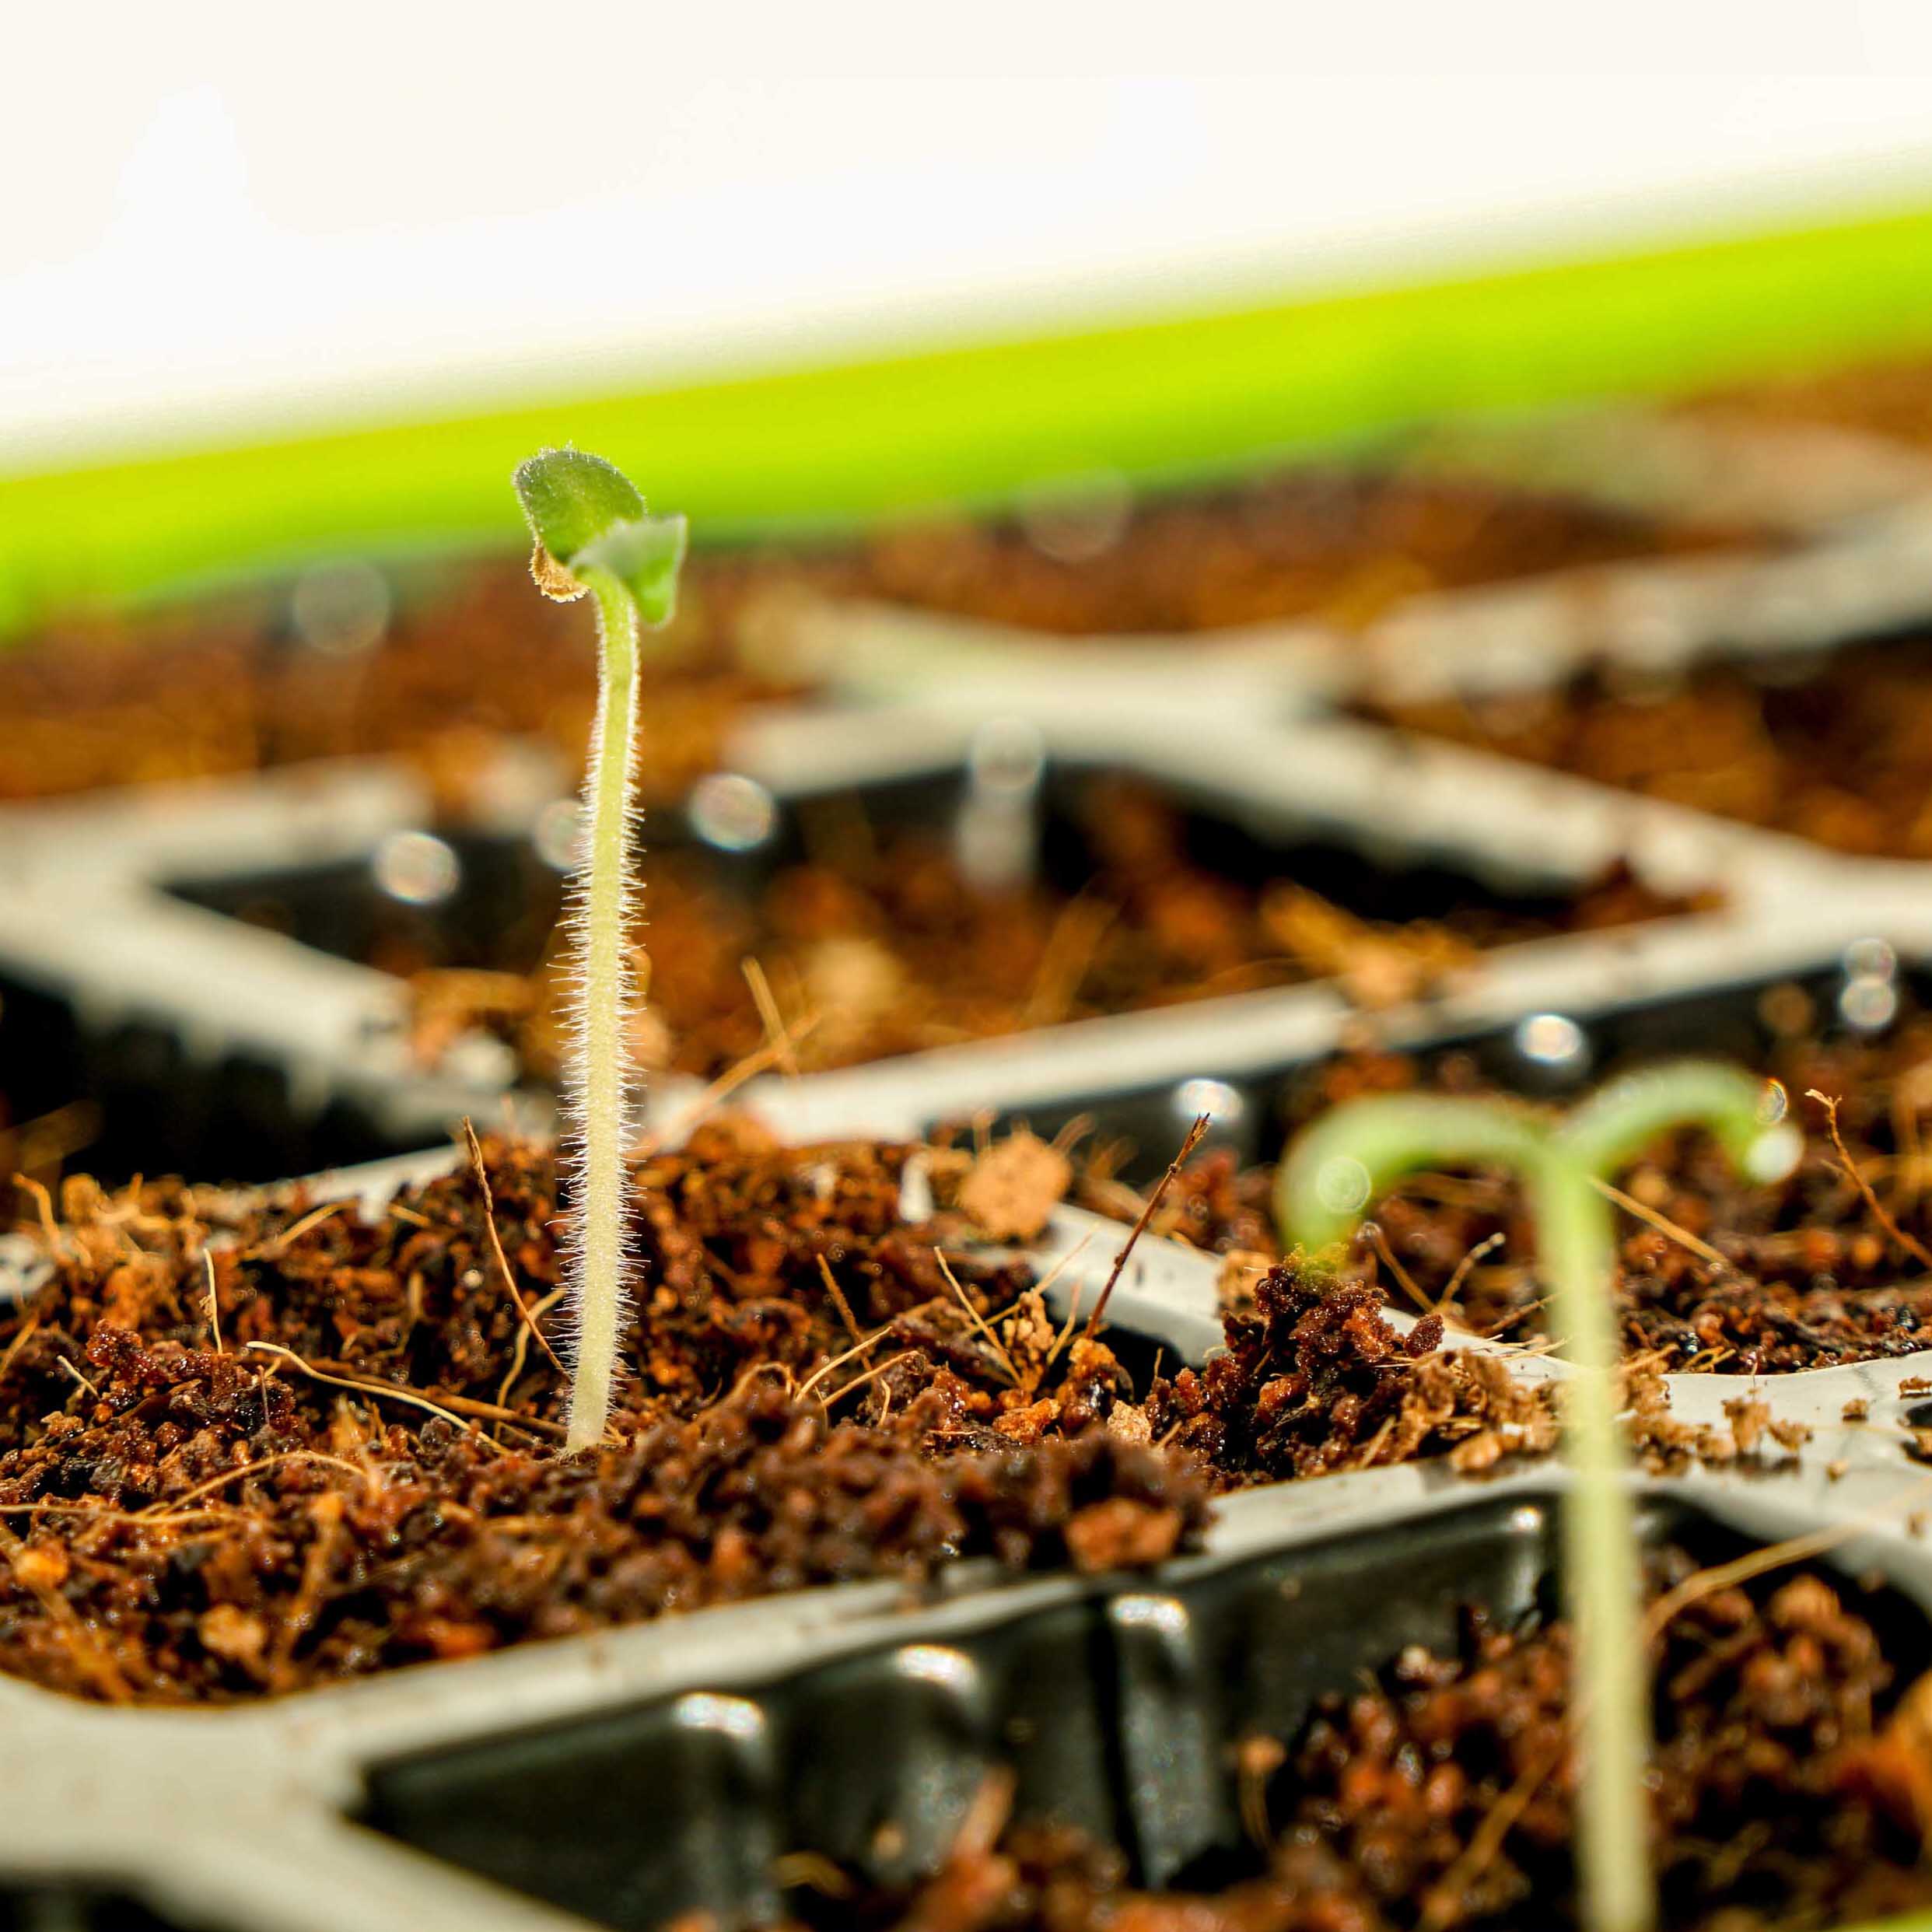
Depending on the variety and temperature, strawberry seeds need approx. 1 to 3 weeks until small seedlings grow. For tomato & chili seeds, seedlings with leaves form after approx. 8-10 days. If the seedlings are visible, the ventilation opening at the top of the mini greenhouse lid can also be left open by 1 to 2 cm. This makes the plants more robust.

Time to prick
As soon as the first real leaves have formed after the small cotyledons, you should “prick out” your plants - i.e. remove them from the growing soil together with the roots and place them individually in larger pots with fresh soil. This gives the plants more space, light and nutrients. To do this, you can use a pricking stick, a pen or simply an ice cream stick. Make sure that you have already prepared the new planters when you remove the plants from the growing medium. The root balls should not spend more than 30 minutes in the air - the plants would not survive and would die.
When pricking out, you should try to damage the root ball as little as possible. However, it is inevitable that some fine root hairs will break off and will even help the plant with later root formation.
So start by pushing your tool under the plant at an angle of about 45 degrees. Use gentle sideways movements to remove the root ball from the soil. Then push the entire plant with the soil upwards. Ideally, the soil should break up and parts of the roots should already be visible. Carefully grasp the plants by the main shoot and carefully pull them and their roots out of the substrate. Then hold the plant about halfway into the planting hole that you made in the new soil and carefully push the soil together around the plant. Finally, the plant should be watered well again so that any cavities in the soil close well. Your plant can now spend the time here until it is released outside.
Harden off young plants
Place your young plants indoors in a bright place. From April, when the temperatures outside are a little warmer, you can put your pricked young plants outside in a protected place for an hour during the day . But here too, avoid direct sunlight initially. This could cause the leaves of the young plants to burn quickly.
Strawberries can be planted outside in SISSI STRAWBERRY, TOM TOMATO or CHARLY CHILI from mid-April, tomatoes and chili plants from mid-May.


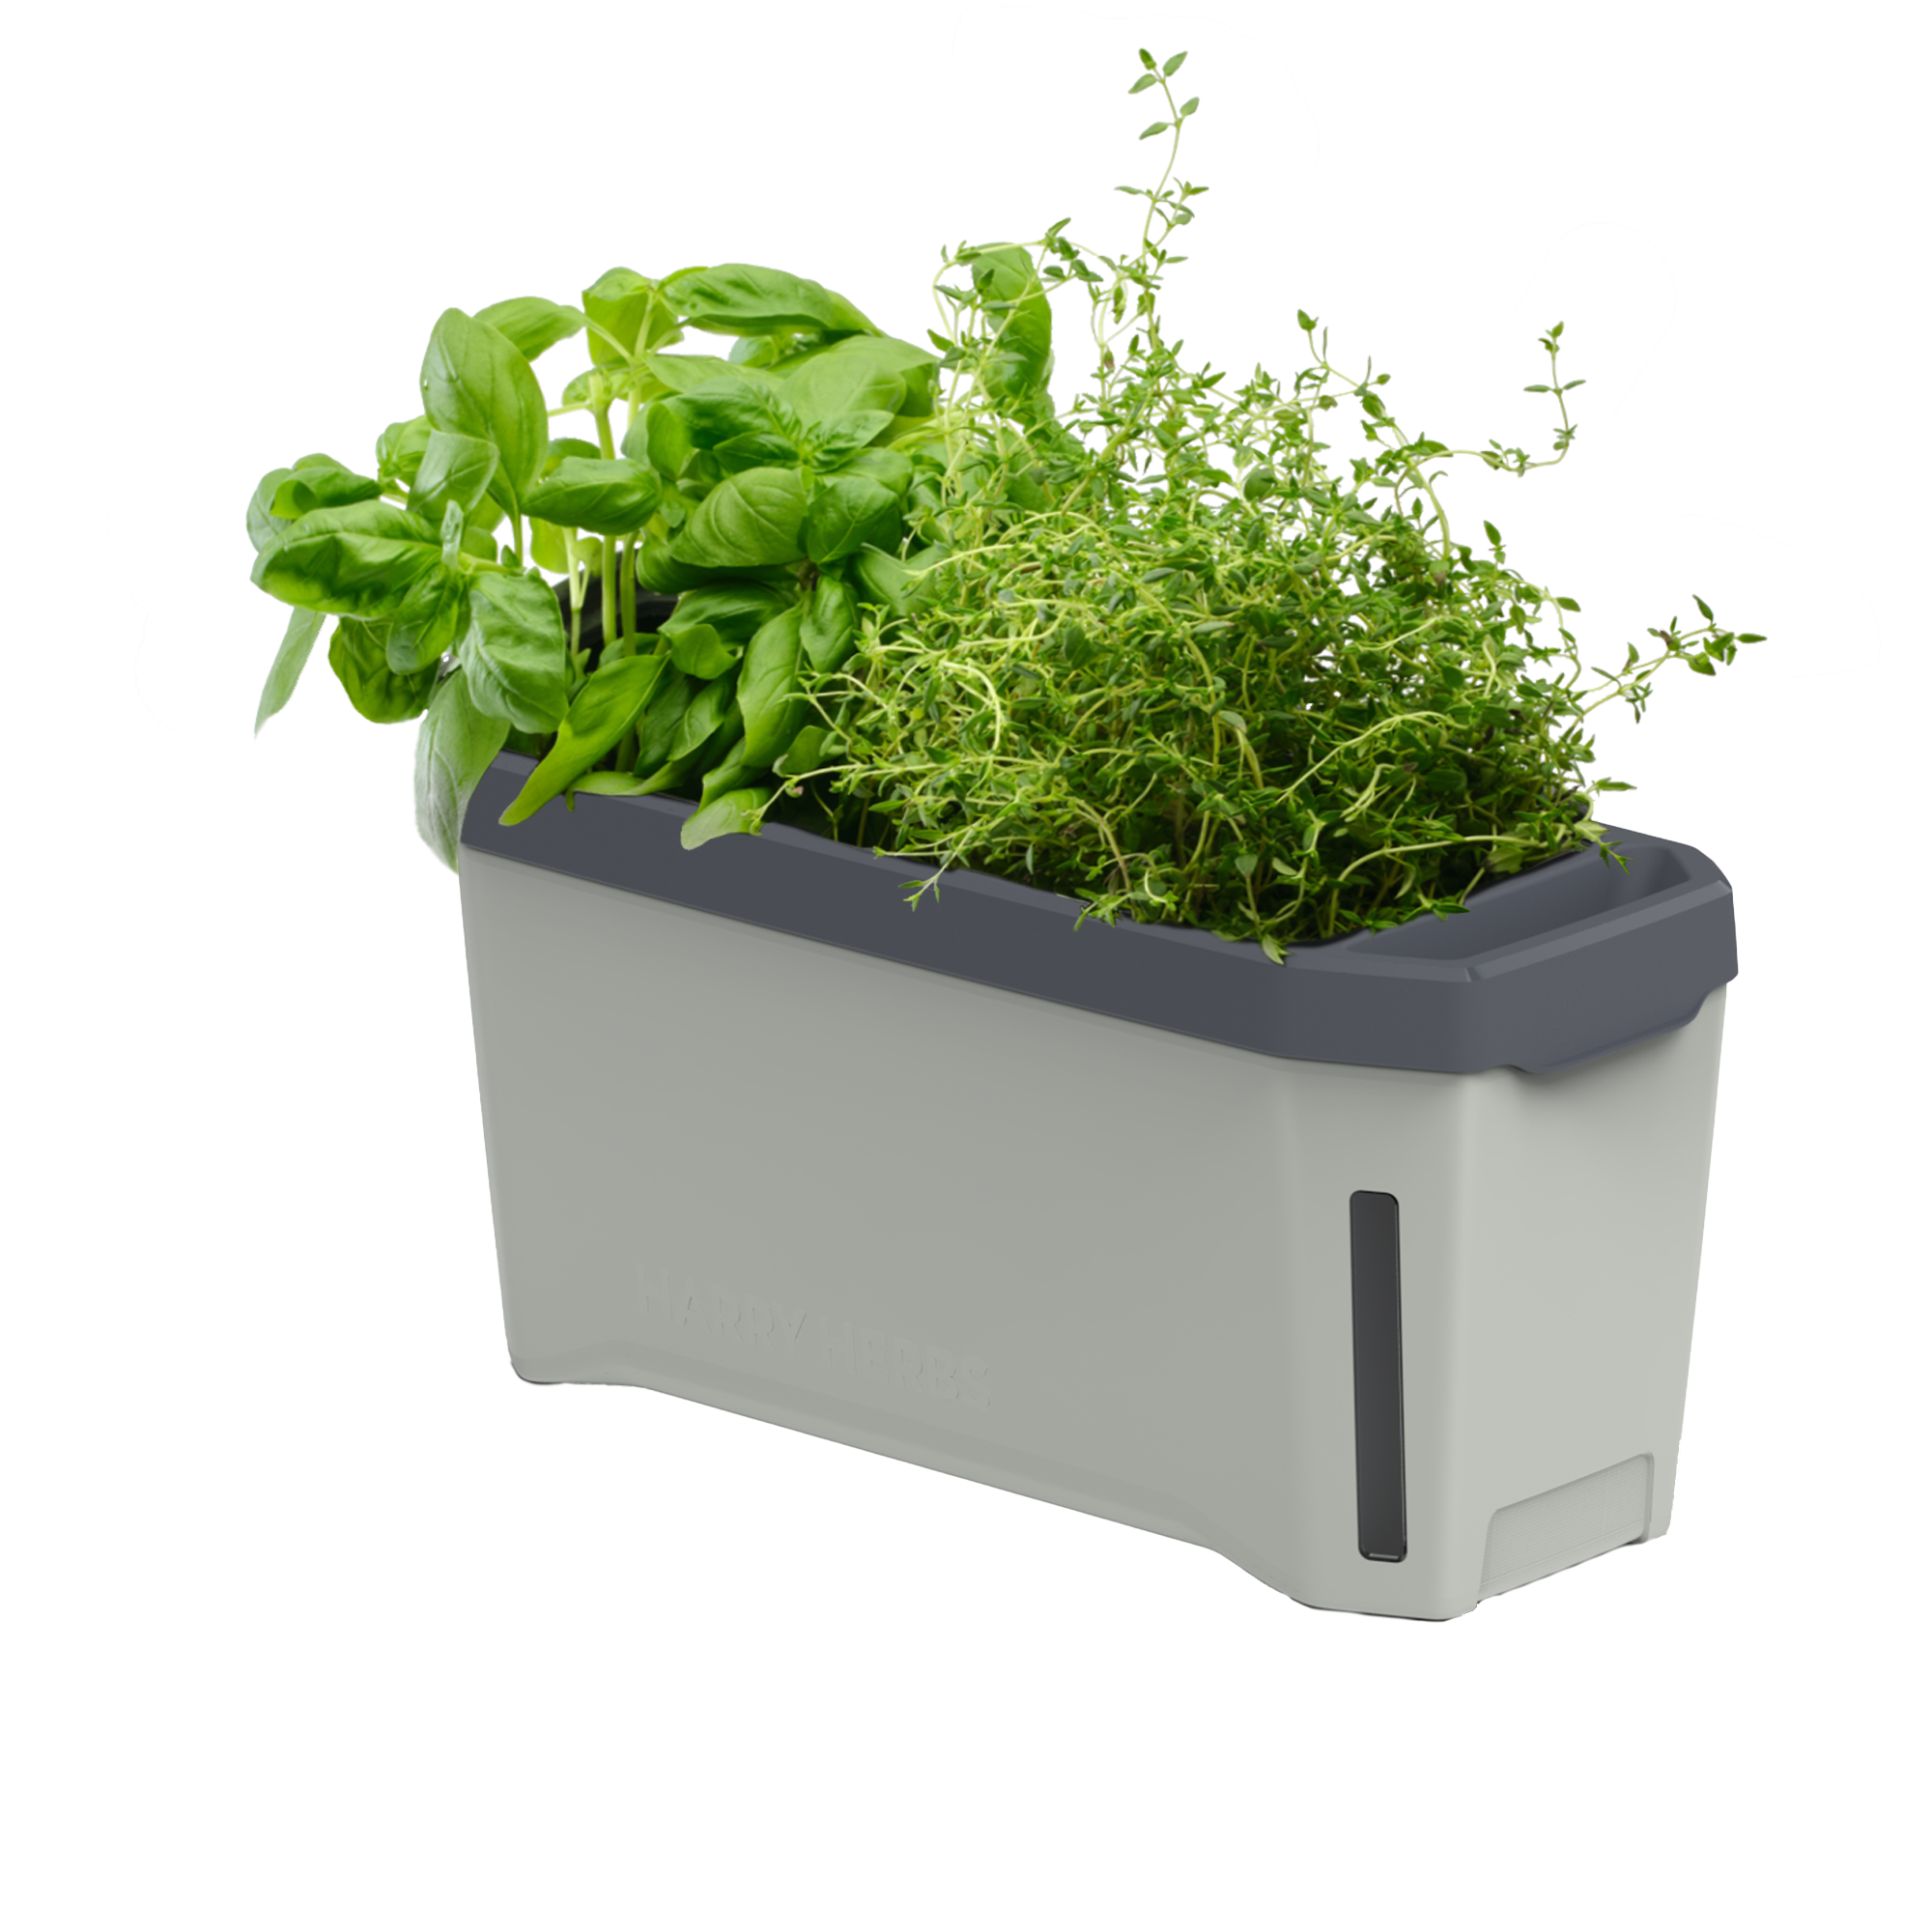
RELEVANT PRODUCTS
Save 10,00 €
Sold out
Continue reading

GUSTA GARDEN NEWSLETTER
As a member of the Gusta Garden Club, you not only benefit from exclusive discounts, but also from special advantages, offers and news. Become part of our community now and don't miss any exclusive benefits and information!